Sign up for the Family Tree Newsletter Plus, you’ll receive our 10 Essential Genealogy Research Forms PDF as a special thank you!
Get Your Free Genealogy Forms
"*" indicates required fields
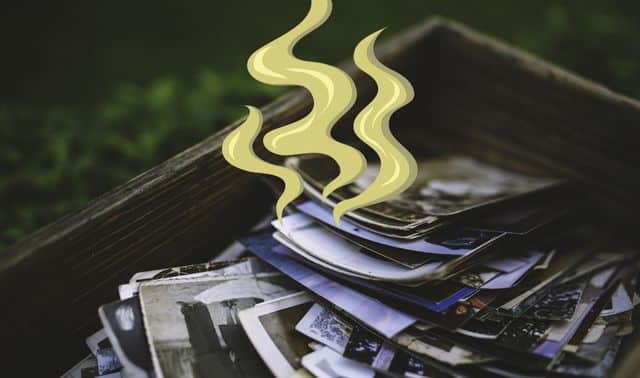
Every time I turn on the television or look at a newspaper, I see people who suffered through Hurricane Katrina mourning the loss of their families, homes and belongings. Almost every newscast and article shows someone clutching photographs, saddened he or she couldn’t have saved more pictures.
When I was a photographic curator, my colleagues and I planned for events like this storm, but we fervently hoped one would never happen. The first urge of anyone cleaning up after any watery disaster—whether a hurricane, flood, fire or burst pipe—is usually to throw everything away because it looks ruined and unsalvageable. But that’s not always the case. There are steps you can take to save those sodden boxes of pictures and negatives.
Saving Photographs
The Heritage Emergency National Task Force, a coalition of 36 organizations and federal agencies including FEMA, offers advice for saving collections after a disaster. Here are the basics:
- Mold occurs within 48 hours, and tintypes (early photographic images printed on metal) will rust, so it’s important to move quickly.
- Wear gloves and masks to protect yourself from contaminants.
- Handle everything with care—items tend to be more fragile when they’re wet.
- Prioritize what to save because you might not be able to rescue everything.
- Whether you’re trying to salvage your kid’s baby pictures or your great-grandmother’s tintype, you’ll use fresh water, a drying rack and air.
- To remove debris, mud and contaminated water, carefully rinse dirty, waterlogged photographs in clean water. You can gently immerse them (use new water for each item) or pour water over the picture. Be especially cautious with images that have loose surface pieces.
- Place your photos on a plastic screen or paper towels. Don’t stack them or they’ll stick together. Or, if you have plastic clothespins, you can hang each photo by its edge. Just don’t let the images touch and make sure the picture area isn’t crumpled by the clothespin.
- Don’t allow the photograph to come into contact with other surfaces (other than the screen or the paper towels) as it dries.
- Let the pictures air-dry. Avoid blotting or towel-drying them—this will remove parts of the photograph. If you have electricity, you can hasten the drying process using a dehumidifier or fan.
- According to the task force, if you can’t treat photographs immediately or dry them within 48 hours, place them in unsealed containers and freeze them. Later on, you can thaw small batches of material as you have time to deal with them.
<!–  –>
–>
Helping Hands
No doubt some photographs will need intervention from a professional photographic conservator. If you need to hire one, use the online Conservation Services Referral System on the American Institute for Conservation of Historic & Artistic Work Web site to locate one in your area. Look for a conservator who’s trained to stabilize photographs after damage.
When you don’t have clean water or enough food, and you’re worried about where you’re going to sleep, it can be difficult to focus on anything else. If you know someone who’s facing the worst and trying to save family photographs, please pass along this column and consider lending a hand.
ADVERTISEMENT