Sign up for the Family Tree Newsletter Plus, you’ll receive our 10 Essential Genealogy Research Forms PDF as a special thank you!
Get Your Free Genealogy Forms
"*" indicates required fields
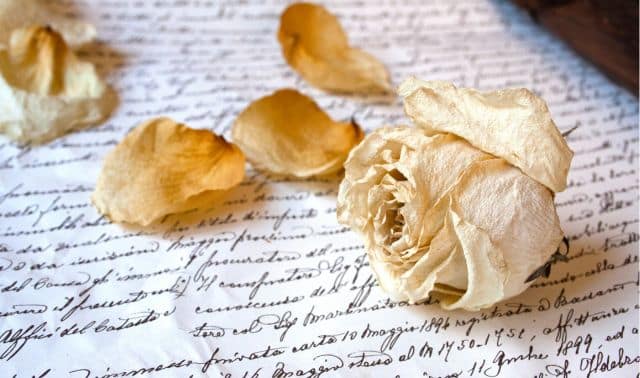
Is the secret to a family connection hidden in a tightly rolled panoramic photo? Does Grandpa’s portrait bear age spots—not from his octogenarian complexion, but from the wooden frame? Are your snapshots trapped in the magnetic jail of those popular 1970s photo albums?
I often receive questions about preservation dilemmas such as these on my blog, the Family Curator. I tell my readers you don’t need to be a professional conservator to save your treasures if you take care to follow the experts’ advice. Try these three do-it-yourself projects to rescue your family photographs from the perils of past preservation faux pas.
Project 1
|
For this project you’ll need:
|
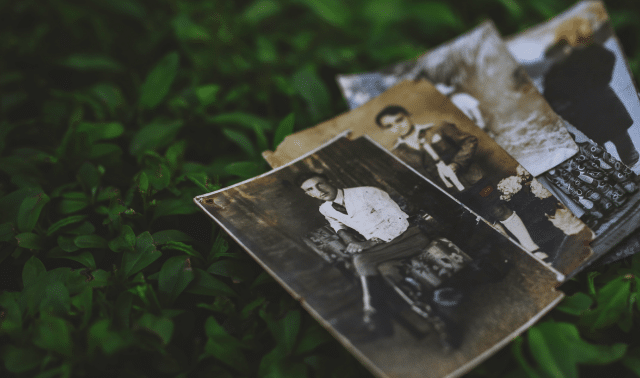
Large photographs are treasures that demand high prices on auction sites, but they’re worth considerably more to you if your own family is pictured. Unfortunately, many of these oversize images get damaged before they’re enjoyed. Panoramas often were mailed and stored tightly rolled in cardboard tubes. In time, the paper becomes brittle and permanently coiled, making it nearly impossible to unroll the print for scanning or framing without damaging it. The cardboard might leech acids to the photo, causing further deterioration.
1. Place the storage container on a flat, level surface and add about two inches of lukewarm water.
2. Place the rack inside the plastic container with the top of the rack above the water line.
3. Brush off any surface dirt or grime on the photo, but don’t force it to unroll, as this may cause cracking. Place the rolled photo in the center of the rack. Close and fasten the container lid.
4. In two hours, check whether the paper has started to relax. Recheck every few hours. Remove the photo as soon as the paper feels soft and pliable, or you’re able to easily unroll and gently flatten it.
5. Tightly rolled photos may require a second or third treatment. Don’t leave photos in the chamber for more than eight hours or they might begin to mildew. Check frequently and remove photos promptly when humidity is restored.
6. Lay a sheet of acid-free blotting paper on a flat, smooth surface, such as a clean kitchen counter. Place your humidified photo face-up on the paper. Cover the image with the barrier paper, then place another sheet of acid-free paper on top. Place a large piece of wood or Plexiglas on all layers.
7. Place your weights on the wood, evenly distributing them over the photo. Leave the photo to dry and flatten for one to two days.Store the flattened photo in an acid-free file folder inside an archival-quality box. It might show cracks or other damage you can fix through digital retouching. See the January 2011 Family Tree Magazine for how-tos, or enlist a professional. Restoration services can scan your image, repair damage and return a frame-ready print to you along with the original. Look for a business that can complete all phases of the project on-site (some companies send photos out of the country to keep costs low).
Project 2
|
For this project you’ll need:
|
Do you have photographs trapped between glass and common cardboard? Can you see spots where the wood frame has stained the paper? If so, it’s time for a little curatorial intervention.
How you “unframe” an old photograph is as important as how you reframe it. Your hands and work surface should be clean and dry. Create a record of your conservation efforts by taking photographs before and after your work.
1. Use your digital camera to take pictures of your framed photo from the front and back. You may need to stand slightly to the side of the frame to avoid a reflection in the glass. It’ll also help to turn off the flash and use good natural light.
2. Cover a sturdy work surface with a towel and place the framed photo on it, face down.
3. Use the needle-nose pliers to gently remove any tacks, nails and clips that secure the frame backing. Use tweezers or a dull knife to pull up and remove the backing and other inserts. Your photo may be sandwiched with cardboard, mat board, newspaper, glass or wood. Be prepared for surprises: Your ancestors may have placed notes, clippings, letters or more photos in the frame. Take pictures of any discoveries.
4. Use caution when removing the old glass (you may want to wear gloves). If the photo was placed flush to the frame without mat board, it may be stuck to the glass. In that case, try to carefully loosen and pull the photo free. A short time in a humidification chamber (see page 47) also can help unstick the photo from glass. If gentle efforts don’t budge the photo, scan it through the glass and consult a professional conservator.
5. Scan the photograph at 600 dpi and order a professional archival-grade print of the original. Place the original in archival storage.
6. If you want to reuse the frame, examine it to determine any needed repairs. You can clean it like fine furniture with wood cleaner and touch it up with stain or paint. Be aware that wood frames are highly acidic and will damage a photograph over time. To help prevent this, seal the repaired frame with formaldehyde-free polyurethane (see box, opposite, for sources).
7. Take the old frame, old glass and new print to your local art or framing store. Choose a frame (if you’re not using the old one) and order an archival-quality mat, backing board and UV-blocking glass cut to size. UV-blocking glass filters the ultraviolet light that causes fading and discoloration. The mat provides space between the print and glass to prevent sticking.
8. To reframe the photo, place the frame face down on your towel-covered work surface. Place the UV-blocking glass inside the frame, followed by the mat. Use photo hinges or corners to secure the photo centered in the mat opening. Attach hinges to the top edge of the photo, where the mat will hide them. Avoid glue, tape and other adhesives.
9. Add the backing board. Gently hammer framing nails to secure the backing to the frame. You may need more than one per side, depending on the size of the frame.
10. To display your photo on a wall, attach hanging hardware following the manufacturer’s directions.
Project 3
|
For this project you’ll need
|
Nearly every family has photos in “magnetic” albums (the ones with the sticky pages covered by plastic overlays). Did you try to release yours only to give up when they cried out in pain? With a few simple tools, you can help your photos escape a lifetime sentence stuck between yellowing plastic and sticky bits of adhesive goo.
1. Take digital photos of the album pages so you’ll remember their arrangement, which may be a clue to identifying mystery images. Use your camera’s highest quality setting and shoot in natural light. First take photos of the album cover—front, back and sides. Next, photograph each two-page spread. I put a sticky note in an empty page corner to show the page number. Finally, snap photos of each page, zooming in to fill the lens frame with the full page.
2. Pull back the plastic page cover. If you have a hard time lifting it, that’s an indication of how stuck your photos will be and the potential damage of unsticking them. Consider removing the pages from the album with a sharp X-acto knife and scanning each page to create good digital copies of the photos.
3. Carefully slide the microspatula between each photo and the page, placing pressure on the page, not the photo, and loosen from one corner to the next. Work your way across the photo. Jacobs advises using the tool to separate—not cut—your photos from the backing. As you remove photos and set them aside, remember that they may have a sticky residue on the back. Avoid stacking them on top of one another.You may come across various other methods for freeing photos from magnetic albums. Jacobs warns against those involving freezing (too damp), heating with a hair dryer (too hot), and extracting with dental floss (doable, but difficult).
4. Scan photos and make copies for your records or other family members. If desired, refer to your photos from step 1 to “re-create” the album by arranging photos identically using photo corners in an acid-free, lignin-free scrapbook. Be sure to copy any captions or stories that were included in the original album. Otherwise, store the photographs in archival sleeves or envelopes.It’s never too late to rescue your photo heirlooms from the mistakes of the past. With a bit of time, patience, and archival assistance, you can become the curator of your family treasures.
Supply Chain
For silicone release paper, acid-free blotter paper, a microspatula and archival storage supplies, turn to these suppliers:
• Gaylord
Tips:
- If you decide to entrust your photos to a professional restoration service, ask your local museum or historical society who it uses.
- When working with old photos, wash your hands frequently or wear white cotton gloves. Handle photos gently by the backs and edges; avoid touching the image itself.
More Online
- Creating a family archive, step by step
- Family Photo Essentials CD
- Heirloom Preservation Made Easy on-demand webinar
From the January 2012 issue of Family Tree Magazine
More great genealogy resources from Family Tree Magazine:
ADVERTISEMENT