Sign up for the Family Tree Newsletter! Plus, you’ll receive our 10 Essential Genealogy Research Forms PDF as a special thank you.
Get Your Free Genealogy Forms
"*" indicates required fields
If there’s one gadget you should buy this year, it’s a scanner. Why? Because no other device (other than a computer) can better facilitate your family history research.
I still remember the first scanner I bought, way back in the early ’90s. It was a black-and-white flatbed model, a heavy beast that took up quite a bit of desk space and scanned v-e-r-y s-l-o-w-l-y. Four years later I got my next scanner—this one in color—and what a dream it was. I still couldn’t scan in nanoseconds, but the machine produced higher-quality images.
I used that gizmo to copy family photos for retouching and sharing with relatives, to save my research documents on CD-ROM for toting on road trips, and to convert typed pages into word processing documents with OCR software (more on that later).
There’s no limit to what you can scan (even clothing!) and add to your electronic family history. But deciding which scanner to buy can leave you scratching your head in bewilderment. Flatbed or photo? Eight-bit or 24? And what’s a skuzzy?
Our answers to those questions—and more—will help you sort it all out.
Benefits of Owning a Scanner
Let’s say your cousin Esther in Idaho just got her hands on the family Bible, and you’re itching to uncover its genealogical gems. But alas, you live in Rhode Island, and there’s no way Esther will risk shipping that heirloom across the continent.
You could shell out the cash for color copies. Or, if Esther has a scanner, you could just ask her to digitize the Bible’s pages (for free) and send them to you over e-mail or post them on a website or social media. In the spirit of sharing (and isn’t that what genealogy’s all about?), you could then scan your grandmother’s wedding album and send those images to Esther. You both save money, and you both gain family knowledge—not to mention digital copies of priceless heirlooms.
Already have a scanner? Consider upgrading. Scanners have improved drastically in the past several years, and prices have plummeted. Now you can get a top-of-the-line photo scanner that will make your old pics look like new for less than $200. And portable devices can eliminate the need to make photocopies at record repositories. So trade in that clunky model for a feather-light, streamlined update.
Factors to Consider When Buying a Scanner
Research scanners before you get to the computer store. Too often I see sales staff pitching a product because that’s what they’ve been told to sell that week. Consult manufacturers’ websites for the valuable technical information about their products. Of course, those sites seldom point out any negatives, so look for objective opinions on social media, product-review websites and on Internet discussion boards.
Finally, don’t buy a scanner without trying it out at a friend’s house or the store first. Bring whatever material you’ll want to scan—a book, an old photo, your grandfather’s naturalization papers—and give it a whirl.
1. Price
In the past, family historians picked scanners based solely on price. But with so many affordable models now on the market—some cost less than $30—price is seldom the deciding factor. Of course, you’ll still take cost into consideration, but other features will likely take priority.
2. Compatibility
Historically, a scanner “talks” to your computer through an interface cable, which attaches to a port on the back of the computer. But as technology has progressed, data-transfer methods have changed. Make sure the scanner you buy uses an interface method that’s compatible with your device.
Older desktop computers have a parallel or printerport, and that may be the only option for connecting a scanner—but expect to be frustrated by the slow transfer speed.
The USB (universal serial bus) port has been long the standard interface method. Most PCs still have ports—and many scanners still connect using them. But newer Apples products have been phasing them out; you may need to buy an adapter.
Fire Wire (mercifully short for IEEE-1394 High Performance Serial Bus) is the next-speediest data transfer method. It’s compatible with both PCs and Macs, although scanners that support Fire Wire are less common and often more costly.
Faster still are the scanners that support Wifi or Bluetooth connectivity, allowing you to wirelessly transfer digital images to your device. Some dual scanner-printers can even transfer information to via mobile devices through dedicated apps or a feature like Apple’s AirPrint.
3. Resolution
This indicates how clear a digital image will be, and is reported in dots per inch (dpi). The more dpi, the sharper the image. Higher-resolution files also take up more space on your hard drive.
You’ll want to scan at different resolutions for different purposes. Trying to enlarge an image will lose resolution, resulting in an image that looks fuzzy or pixelated:
- 72 dpi for images you’ll post on a website
- 150 dpi for halftone images
- 200 dpi for line art you’ll print
- 300 dpi for photos and other images that you’ll print without resizing
- 600 dpi for photographs you’ll enlarge four times the original size or less
- 1,200 dpi for photographs you’ll enlarge more than four times the original size
Most scanners can handle resolution and color depth (see the next section) that are plenty high for your needs. When the scanner makes a pass over your photograph or document, its sensor, which is made up of many photosensitive cells, records the amount of light that bounces back. The darker the original, the less current those cells receive.
Each cell on the sensor reads a single dot on the original image. So a device claiming to scan at a resolution of 2,400 dpi, or dots per inch, has a sensor with 2,400 photosensitive cells per linear inch (5.7 million in a square inch).
You may see a scanner’s resolution listed as “2,400 dpi through interpolation.” Interpolation lets the scanner’s software cheat: It fakes a higher resolution by copying some dots (also called pixels). For example, a scanner with 1,200 photosensitive cells per inch may clone every pixel, for an interpolated resolution of 2,400 pixels per inch. In that case, the clarity of the final image relates directly to how well the software duplicates the pixels. So don’t rely on interpolated resolution to judge a scanner’s effectiveness; look instead for its optical resolution, which measures the actual physical dpi.
4. Color depth
Another important number in scanner selection is bit depth, also called color depth. That’s the number of bits (the smallest unit of computer data) needed to record color information for a single pixel—in simplified terms, it’s how many colors your scanner can reproduce.
The higher the bit rate, the more color choices you have and the more contrast in your scanned images. You won’t want to go below a 24-bit scanner, or you’ll see limitations in your scanned photos. Eight-bit color is fine for black-and-white line art, though.
Note that the amount of color a scanner can recognize (referred to as internal or hardware color) and the amount it can actually save (external or true color) may differ.
5. Editing software
All scanners come with software that directs them to read an object and then transfer an image of that object to your computer. Most of this software can also do basic image-editing, though you can find free or relatively low-cost standalone programs and apps for this.
Key Types of Scanners
Recommendations by Rick Crume for the September/October 2024 issue of Family Tree Magazine. Prices and features were accurate as of September 2024.
When you start shopping, you’ll find home scanners in five main categories, each designed for slightly different needs. For even more flexibility, you can use optional attachments with some models.
Flatbed scanners
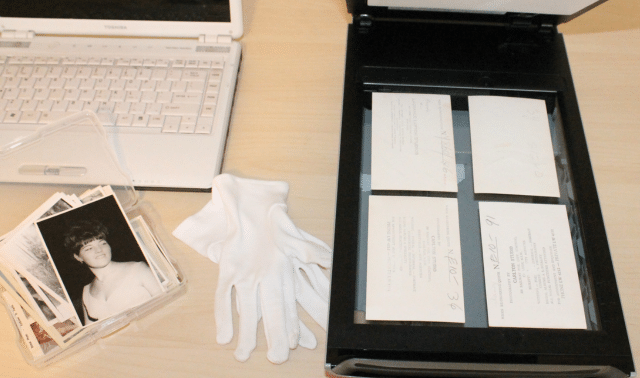
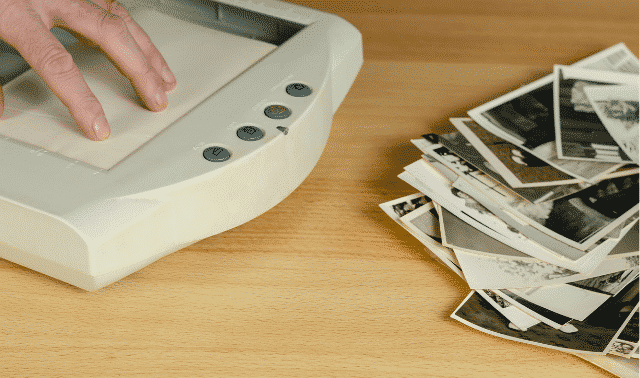
A flatbed scanner is easy to use and works well with just about anything you need to scan: tin types, modern photos, newspapers, books and oversize items. You lay the original onto the scanner’s glass, and the scanner’s “eye” moves across the item from beneath.
Most flatbed scanners can handle pages up to 8.5×14 inches, which means they take up quite a bit of your desk’s real estate. Don’t pile stuff on top of the scanner—it’s not made to support a lot of weight.
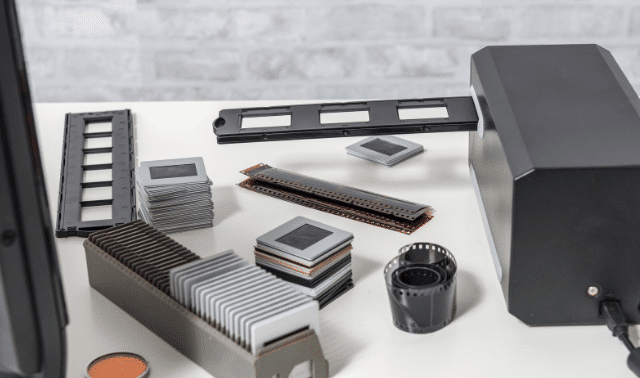
A transparency adapter, available for some flatbed scanners, holds and illuminates negative strips or slides while you scan them. The scanner recognizes when you’re using the adapter and adjusts the final image for the appropriate colors.
Many flatbed models (and some other types) have shortcut buttons to scan, print, e-mail or save an image to your hard drive. One-button scanning eliminates steps—you just press a button to launch the program and start the scan.
Some flatbed scanners come with another time-saver called a sheet-feed adapter, which lets you scan multiple pages without babysitting the machine. Otherwise, you might find yourself spending a lot of time swapping out documents to get them all scanned.
Suggested models:
- Canon CanoScan LiDe 400, $89.99: Features color-restoration, cloud backup and dust-removal.
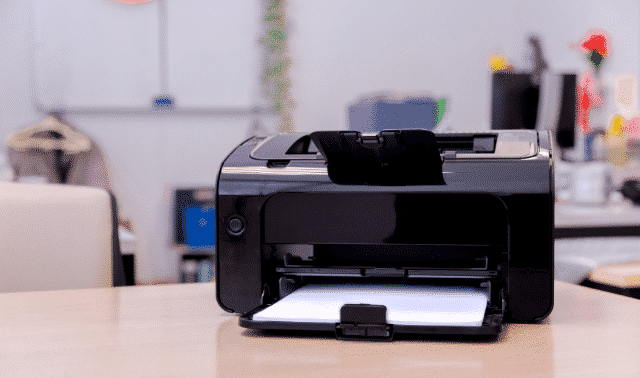
- HP DeskJet 4255e Wireless All-in-One Color Printer, $99.99: Low-cost option that functions as both a printer and auto-document feeder with 60-sheet tray.
- Epson Perfection V600, $349.99: With a built-in transparency unit, it can handle any transparencies and negatives up to 3×10 inches, including 35mm filmstrips and medium-format panoramic film.
Sheet-fed scanners
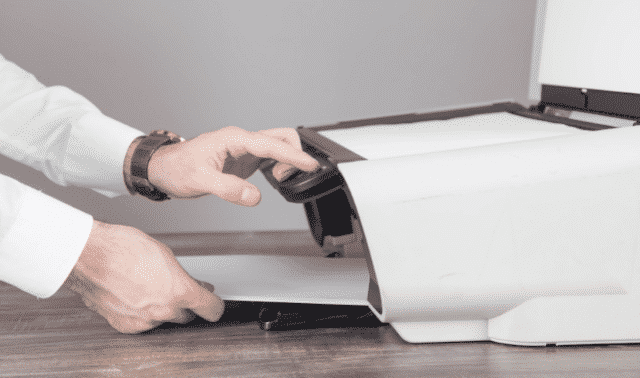
The sheet-fed scanner has rollers that grab the page and send it under the scanner head. Like a copier, you often can set it to scan pages while you’re not watching—great for a labor-intensive project such as digitizing all your research documents. Drawbacks: You can’t copy pages from a book, and you don’t want to send anything that shouldn’t be bent, such as old photographs, through the sheet feeder.
Suggested models:
- Epson WorkForce ES-400 II, $349.99: With a 50-sheet feeder, this scanner processes both sides of documents at a rate of 35 pages per minute.
- ScanSnap iX1600, $429.99: This machine’s 50-sheet feeder can process both sides at 40 sheets per minute.
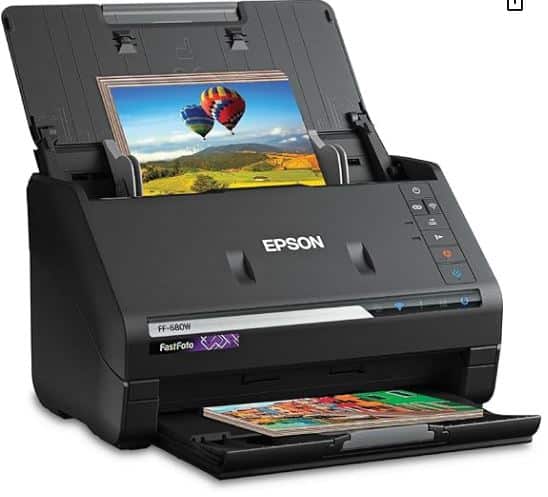
- Epson FastFoto FF-680W, $599.99: A high-speed (up to one photo per second) snapshot scanner, this product can handle documents too. Batch-scan up to 35 photos at a time, with support for Polaroid photos, panoramas, postcards and photos up to 8×10 inches.
Portable scanners
These combine the power of a flatbed scanner with the convenience of a smartphone or tablet. Take portable scanners on the road with you to libraries, archives, or a relative’s house to scan materials on the go. They’re also great for toting around the house, helpful if your collection is in multiple places.
Suggested models:
- Epson WorkForce ES-50, $129.99: Small and lightweight, this is designed for documents but is well-regarded for scanning photos, too.
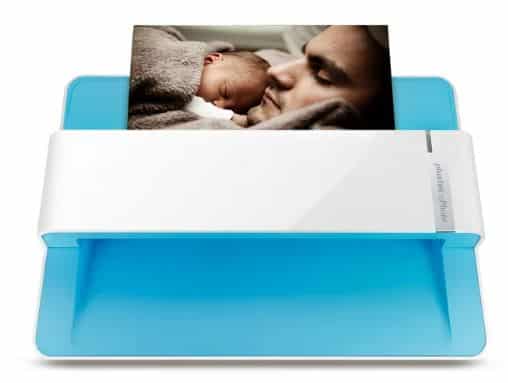
- Plustek ePhoto Z300, $199: Supports 3×5-, 4×6-, 5×7-, and 8×10-inch photos plus letter-size paper. Even at 300 dpi, the scanner takes just seconds to process photos.
Photo scanners
Photo scanners are designed especially to digitize images, making them great for genealogists. Some come packaged with photo-enhancing software. Many resemble flatbed scanners and are large enough for 8.5×11- inch photos—in fact, some newer flatbeds are labeled as photo scanners, so they include special photo-scanning features, but also do a good job of scanning documents. Other models, especially those that have drawers for inserting a photo, are designed for smaller images.
Although a drawer protects your photos from scratches and abrasion because the image surface doesn’t touch the glass, you may have to take a tradeoff in quality: The drawer might not keep a warped photo flat enough during scanning to give you a good image.
Photo scanners might be combined with a negative or film scanner that digitizes negative strips — usually 35 mm negatives, though some have attachments to handle the newer 24 mm negatives.
For model suggestions, see the other sections.
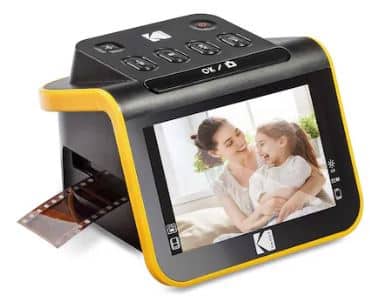
Negative scanners
High-end negative scanners digitize only negative strips or individual slides. They’re usually more expensive than all-purpose scanners—make sure those less-expensive options don’t have attachments for slides and negatives before you invest in a specialized product.
Suggested models:
- ClearClick QuickConvert 2.0, $229.95: Scan a slide, negative or photo in just a few seconds—and from anywhere, as this scanner is portable (no computer required). Compatibility with 35mm slides and negatives, 110 and 126 negatives, and 4×6-inch photos and smaller.
- Kodak Slide N SCAN, $179.99: Continuously load 35mm, 110 and 126 slides and negatives, and 50mm
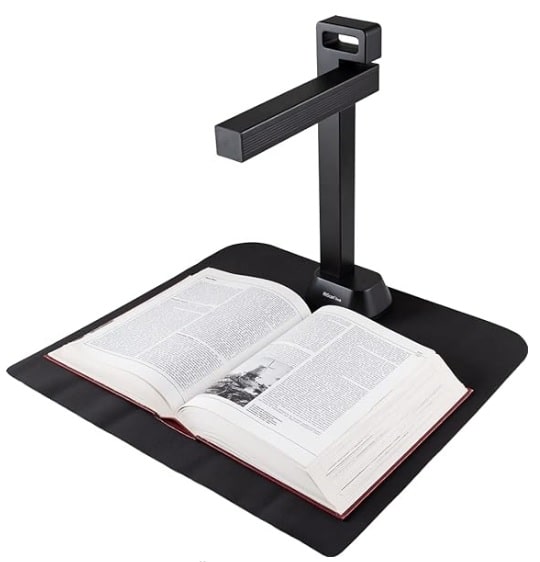
Book and overhead scanners
By Rick Crume
These act something like a camera, imaging content that’s placed on a large scanning base. Like negative and slide scanners, these tend to be more expensive. Before trying to buy one, check with your local library, FamilySearch Center, or genealogical society to see if such a scanner is available for the public’s use.
Suggested models:
- IRIScan Desk 6, about $320: This overhead scanner scans up to 8.5×11-inch pages as fast as a page per second; a Pro version (about $446.90) can scan up to 11×17 inches. Both models feature page-turn detection and automatic flattening of pages curves.
- Vivid-Pix Memory Station, $799.95: This bundle includes a ScanSnap SV600 Scanner (which can scan documents up to 30mm thick), specialized software for recording audio narration with scanned images, and the Vivid-Pix RESTORE photo-correction program. The platform is made available for free to societies and libraries through a partnership with the National Genealogical Society.
Scanners for Delicate Items
Delicate ancestral photos and documents require special considerations when scanning. Flatbed scanners are best: Sheet-fed models may cause damage, and some old photographs have protective cases that may not fit into a photo scanner’s drawer. (Never remove the case.) If your flatbed scanner has a document-feeder lid, remove it and replace the original lid. The feeder’s too heavy for fragile items.
Scanning exposes photos to light—the higher your scanning resolution, the longer the exposure. Although a few scanning sessions are fine for most, some shouldn’t be scanned (snap a digital photo instead). Consult Maureen A. Taylor’s Preserving Your Family Photographs (Betterway Books) to learn what type of image you’re dealing with, then follow these guidelines:
- Albumen prints such as cartes de visite, created primarily in the 19th century, are light-sensitive. Scan them minimally. Pre-1860s albumen photos, called salt prints or calotypes, are even less tolerant—avoid scanning them altogether.
- Gelatin-silver prints, the black-and-white photos used until the 1950s, are relatively stable and won’t fade from moderate scanning.
- Metal tintype images aren’t predisposed to fading from a reasonable amount of scanning—provided they weren’t hand-colored. Don’t scan colored tintypes because the watercolors and organic dyes could deteriorate. The metal in tintypes may distort the scan’s color. Try scanning the image once in color and again in grayscale mode, which sometimes shows better detail. You also may see shadows in your final scan—you can’t do much about that, except work with the image in your photo-editing software. A digital photo might give you better results.
- Avoid scanning ambro types (made with glass), daguerreotypes (made on metal) and pannotypes (printed on leather or linen). Fading isn’t a big issue, but the scanner’s lid can damage the material the photo’s printed on.
Sure, technology can be a bit intimidating. But with this simple scanner advice, you’ll find the machine of your genealogy dreams.
Earlier versions of this article appeared in the April 2002 (Allison Stacy and Amy Wilkin) and June 2004 (Rhonda McClure) issues of Family Tree Magazine and the January 2005 Genealogy Guidebook (McClure). The latter was adapted from Digitizing Your Family History by Rhonda McClure (Family Tree Books). Scanner recommendations were compiled by Rick Crume for the September/October 2024 issue of Family Tree Magazine. Last updated, September 2024.

