Safe Keeping: porcelain dishes
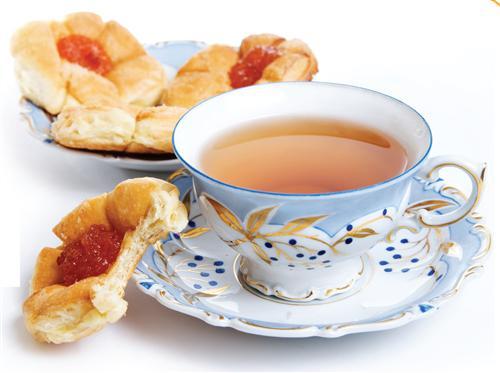
Sometimes it seems fine china is purchased just for the purpose of passing it on to future generations. (How many times did Mom tell you when you were growing up that the porcelain serving platter was too good to use for meatloaf?) But the truth is, china was made to be used. In fact, when used with care, it stays in better shape than if you lock it away. Here’s how to keep your porcelain from going to piece — while still enjoying it.
Use
• Keep your china away from open flames and extreme heat.
• If it has metallic trim, don’t put it in the microwave.
• Don’t let food languish in fine china dishes after a meal.
Cleaning
• Line your sink with a dish towel or rubber mat to prevent breakage.
• Always hand-wash china with a mild detergent, lukewarm water and a non-abrasive washcloth.
• To remove stains such as tea, rub on baking soda with a washcloth.
Storage
• Use cushions, such as a coffee filter; thin foam or flannel, between pieces when stacking china for storage.
• Avoid stacking cups and other pieces with handles.
• Take china out of storage at least once a year to wash it-this helps keep the glaze in good condition.
How Old Is It?
Celtic Creations
Intricate knotwork has long been a treasured design motif in Celtic culture. This St. Patrick’s Day, you can create your own endless knots with your computer and the Celtic Knot Font.
The font’s inventor, Daniel Isdell, came up with a set of standard knot elements, which he assigned to 
After you install the Celtic Knot Font on your computer, play around to get a feel for what you can create. The accompanying booklet includes instructions and examples, plus handy charts and lists that show what keys make what patterns. Once you’ve come up with a snazzy design, you can print it in the size you need and use it for scrapbooking, greeting cards or other crafts celebrating your Irish heritage.
Visit the Celtic Knot Font Web site <www.clanbadge.com/craft.htm> to see crafts using the font and order a copy. One version of the font costs $20. Need more knots? The Graphics Professional Set ($79) includes all four styles (3-D, filled, inverse and outline) plus royalty-free pattern packs.
Color Your World
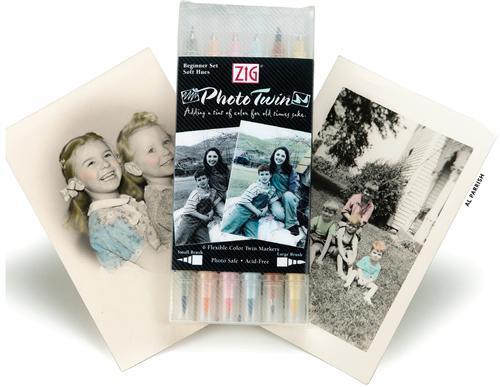
From the days of daguerreotypes until color photos became ubiquitous in the 1950s, it was common practice to hand-color black-and-white photos. The distinctive look of the picture-pale pastels and rosy cheeks-can add an air of nostalgia to a scrapbook page or family history display. You can re-create this retro look with black-and-white prints of your photos and some modern tools.
Zig Photo Twin Markers have a large brush on one end and a flexible, small one on the other for detail work. They’re $20 for a set of six in soft hues or natural hues. For a more cost-effective method, use Prismacolor pencils, $10 for a box of 12 at any art or crafts store. Markers work on both matte and glossy prints; colored pencils work best on matte surfaces.
Tinting Tips
Heed these hints for best results:
• Work from light areas to dark areas.
• Color a small area at a time.
Blog On
Feel like you need to rejuvenate your scrapbooking repertoire? Keep up with the latest tips and tricks by bookmarking these scrapping blogs.
• Lessons from the Scrapbook Page <realwomenscrap.typepad.com>: On this inspirational blog, you can watch the latest installments of Real Women Scrap TV — weekly video shorts of interviews with big-time scrappers, and projects and tips.
• Mad Cropper <www.madcropper.com>: The Mad Cropper keeps you up to date with news from the scrapbook world plus plenty of step-by-step projects to craft along with.
• Memory Makers Blog <www.memorymakersmagazine.com/blog>: The editors of Memory Makers give you a peek into their magazine’s office. See their latest pages and hot new products.
• SimpleStudio <www.simplescrapbooksmag.com/studio/blog>: Simple Scrapbooks is an advocate of clean design in its magazine and in its blog, which serves up advice plus lots of layouts and photos.


