Sign up for the Family Tree Newsletter Plus, you’ll receive our 10 Essential Genealogy Research Forms PDF as a special thank you!
Get Your Free Genealogy Forms
"*" indicates required fields
Family photos are flat and easy to scrap-book. But how do we preserve the pin Great-aunt Mary always wore in her Sunday hat? Uncle Eddie never went anywhere without his good-luck penny. Cousin Gertrude was famous for the embroidered handkerchiefs she gave as gifts. Sometimes, we need to include bulky mementos to tell the whole story. Here are some products that can help you scrapbook them safely: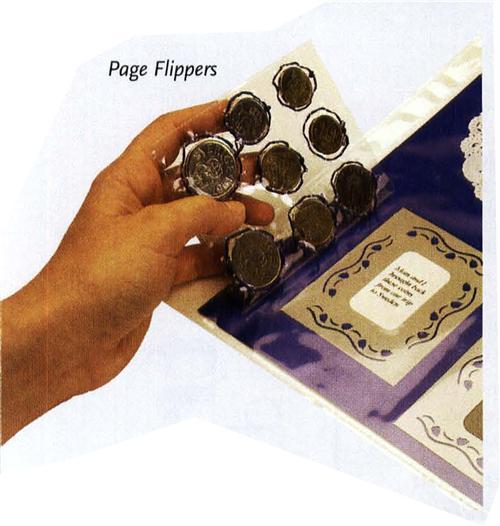
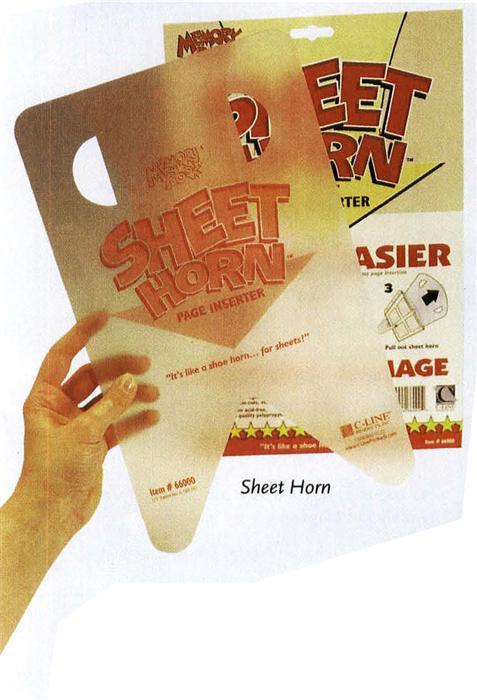
• If you’ve ever had trouble sliding a bulky scrapbook page into a page protector, you probably need a Sheet Horn. This tool holds the protector open so you can insert your finished page without damage to die cuts, photos and other embellishments. Sheet Horns come in 8½x11- and 12×12-inch sizes. They retail for $4.98 and $7.95. (888) 860-9120, <www.c-lineproducts.com>
• I invented Page Flippers for many practical (and fun) scrapbook uses — including memorabilia preservation. A Page Flipper is a 3½x12-inch archival sleeve that has a self-stick adhesive strip, so you can easily attach it anywhere on a page protector. To hold smaller objects, just trim the sleeves to size. For the page at left, I trimmed a Page Flipper and then stitched around each Swedish coin to keep it in place. Now I can “flip” the sleeve to see both sides of the coins and to reveal the journaling underneath. Each six-pack costs $6.95. (800) 727-0699, <www.paperadventures.com>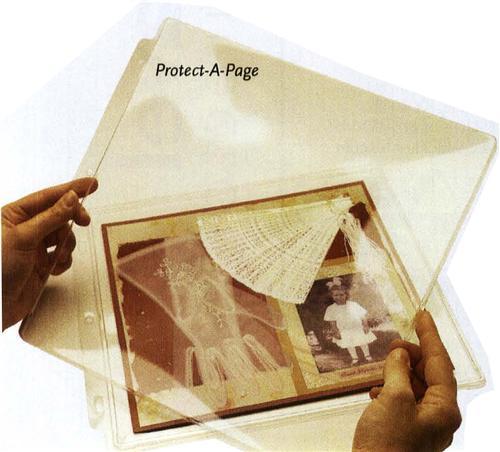
• Protect-A-Page keeps three-dimensional memorabilia, photos and important documents safe. These snap enclosures are ¼ inch deep and made from rigid polyethylene. Available in 8½x11-inch and 12×12-inch sizes, they fit easily into all standard binders and keep mementos from getting crushed, broken or lost. They sell for $2.49 and $2.89. (877) 910-3306, <www.keepsakekeeper.com>
Two Titles for 3-D Pages
• Making Lumpy Scrapbook Pages (Hot Off The Press) provides 48 pages of solutions and ideas for adding three-dimensional accents to your scrapbook page. It features 92 idea pages for scrapping with lumpy materials such as eyelets, brads, wire, fiber and ribbons. (800) 227-9595, <www.paperpizazz.com>
• Michele Gerbrandt’s Scrapbook Basics (Memory Makers) tells you everything you need to know about scrapbooking. This guide explains scrapbooking terms and answers questions such as how to identify “safe” supplies and how to get organized. Gerbrandt shares encapsulation tips for preserving memorabilia, and her page ideas are inspirational. Since the book’s contents are aimed at helping the beginner, it’s a great resource if you’re a family historian first trying your hand at preserving findings in a heritage album. (800) 448-0915, <www.memorymakersmagazine.com>
Line Art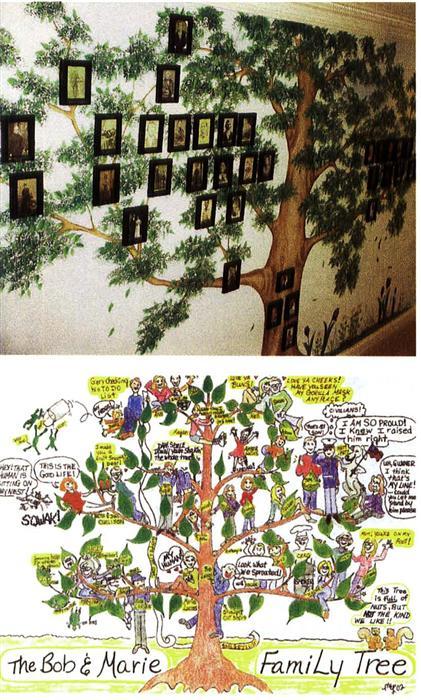
A scrapbook isn’t the only place to preserve your pedigree. Dare to go beyond ordinary albums with these ideas for unique family trees:
• Use a whole wall as your canvas! Joan Fleming of Glen Ellyn, Ill., sent us a picture of the mural she uses to display her family tree (top right). She and her husband, their son, daughter, son-in-law and grandson are pictured in the trunk, while ancestors hang on the branches above.
• Are you an artist? Mary Larsen of Omaha, Neb., drew a tree full of character — family characters, that is. Her family tree (bottom right) illustrates relatives’ personalities and family stories. So if you’re an artist, or have one in your family, consider creating a character drawing of your own family tree.
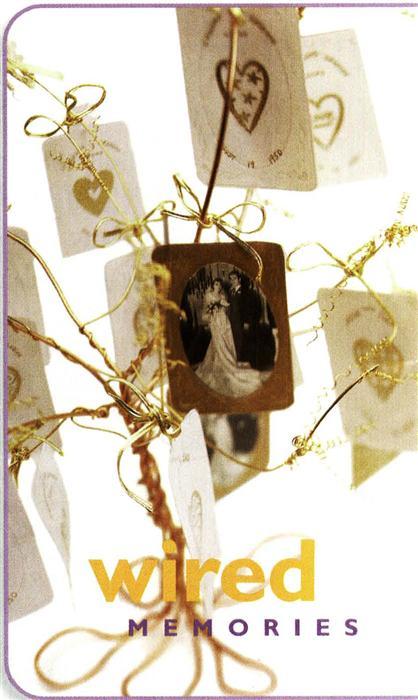
This tree project was created for a golden anniversary party, so attendees could remove and take a photo keepsake home. You can create your own memory tree for a family reunion, graduation, birthday, retirement or any family event.
To create this tree, I used 16-, 20- and 24-gauge non-tarnishing brass artistic wire (available in craft stores). start by cutting the 16-gauge wire into five pieces measuring approximately 24 inches each. Loop the ends for “feet” and twist the wires together to form a trunk and branches. Then cut the 20-gauge wire into 10 14-inch pieces and wrap them around the heavier wire to create “thinner” branches. Cut the 24-gauge wire into 20 or more 12- and 18-inch pieces. Coil each piece around a toothpick, and then slip out the toothpick. Slip one or two coils onto the tip of every branch and at random to create wire foliage.
From the February 2003 issue of Family Tree Magazine.
ADVERTISEMENT
