Sign up for the Family Tree Newsletter Plus, you’ll receive our 10 Essential Genealogy Research Forms PDF as a special thank you!
Get Your Free Genealogy Forms
"*" indicates required fields
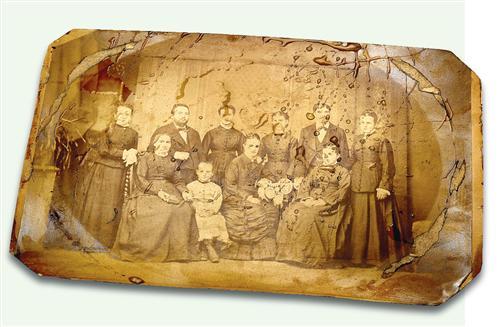
Flood of Memories
Q. Thousands in the Gulf Coast lost their family photos in last fall’s hurricanes. Can water-damaged photos be saved?
A. If a watery disaster-whether it’s a hurricane or a burst pipe-strikes your contemporary photos, slides or negatives, you can salvage them with the following five steps. For water-damaged heirloom photos, though, consult a professional conservator. (See <aic.stanford.edu/public> or call 202-452-9545 to locate one.)
1. Act fast. Clean and dry photos and negatives as soon as possible to keep them from sticking together and getting moldy. If you can’t do this within 48 hours, put them in a freezer (you heard us right) until you have time. Place wax paper between items, seal each stack in a zippered plastic bag and freeze them fiat. (Lower the temperature if you want to speed freezing.) They can stay frozen indefinitely. An alternative, if the pictures are thoroughly soaked, is to place them in a container of clean, cool water — but keep immersion time to a minimum.
2. Clean carefully. Rinse dirty prints or negatives in a soft stream of tepid water, or gently agitate them in a tub. Avoid rubbing or wiping wet photos, and don’t pull them apart if they’re stuck together. Instead, immerse them in water to loosen.
3. Air dry. If you’ve frozen the photos, let the sealed bags come to room temperature to minimize condensation. Then lay out photos face up to dry (negatives should be glossy side down) on an absorbent surface, such as paper towels or blotter paper. Don’t allow the images to touch, and replace the paper underneath when it gets saturated.
4. Cure the curl. Most photos or negatives curl up as they dry. Before flattening them, wait until the surface is no longer tacky but not thoroughly dry. Then place clean paper on top of each photo and press under a book for a few hours. Don’t flatten dry material-this can cause cracking.
5. Plan for the worst. Hedge your bets by making copies of important photographs and storing them in another location, such as a safe-deposit box or a relative’s house. And don’t keep your photo albums in the basement or under water pipes.
Safe Keeping:
Heirloom clothing
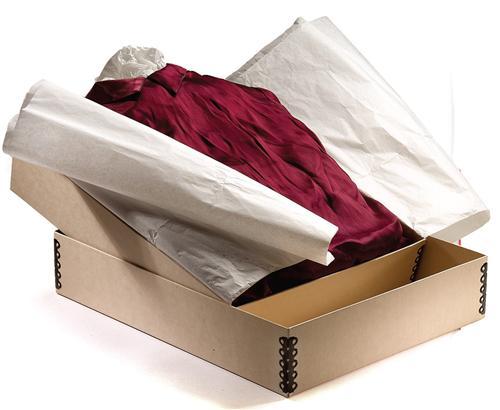
Fold antique garments such as baptismal gowns and prom dresses with as few creases as possible. Pad sleeves, bodices and folds with acid-free tissue paper, muslin or clean cotton sheeting. Tuck into add-free boxes and store them in a cool, dry dark place. Inspect the clothing once a year and refold it a different way to avoid creases.
Scrap speak: deacidification
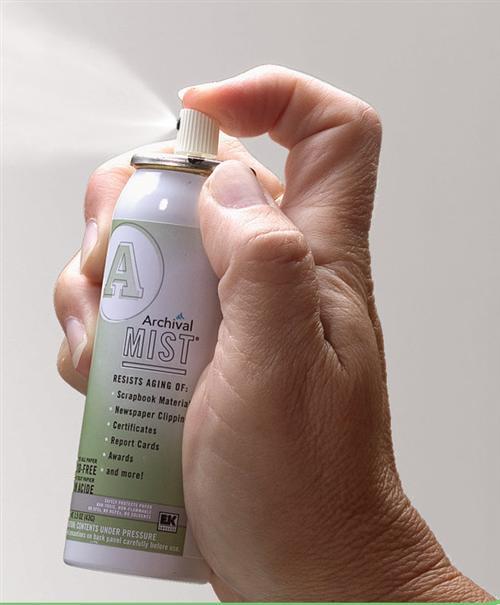
Treating paper items with an alkaline solution neutralizes acids they contain, slowing the deterioration that occurs with age. You can deacidify postcards, tickets and other paper memorabilia using a product such as Archival Mist <www.eksuccess.com>.
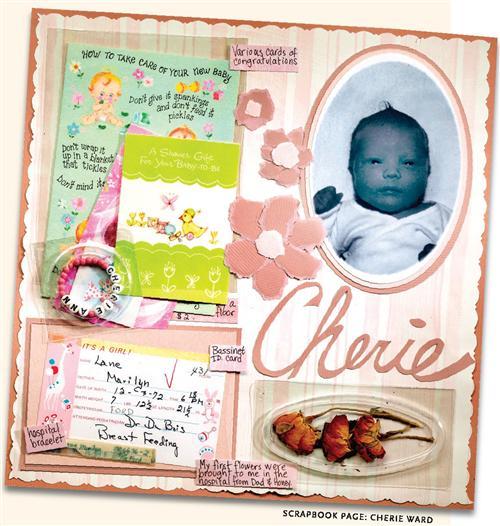
ABCs of Memorabilia Scrapbooking
If you’ve ever paged through a vintage album filled with yellowed birthday cards, ticket stubs and pressed corsages, you know memorabilia deteriorates much the same way photographs do. But you don’t have to banish beloved treasures from your scrapbooks if you follow basic preservation principles-it’s as easy as ABC … and E.
a. Assume it’s acidic. When assembling a scrapbook page, treat all your mementos as if they’re acidic and make sure they won’t touch any photos.
b. Create a barrier. To neutralize acids and prevent acid migration between memorabilia and photos, mat items on acid-free, buffered paper. For example, if the corner of a postcard overlaps a photo, mat the postcard.
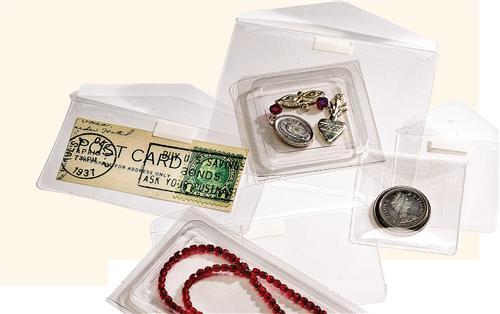
c. Use a container. Protect fragile or 3-D items in enclosures. You can make your own by cutting pieces of Mylar page protectors and sealing the edges with double-sided photo tape. Mount the enclosure with photo corners or tape.
You also can use 3L’s Scrapbook Adhesives <www.scrapbook-adhesives.com> resealable Keepsake Envelopes, which come in several sizes. Put bulkier items, such as your first car key or Grandma’s hankie, in Déjà Views’ <www.dejaviews.com> snap-together plastic 3D Keepers.
e. Don’t forget about the environment where you keep your photographs. Use good-quality, archival scrapbook materials and store the albums in an area with stable temperature and humidity (no hot attics or damp basements). A closet off a living area works well.
From the February 2006 issue of Family Tree Magazine.
ADVERTISEMENT
