Sign up for the Family Tree Newsletter! Plus, you’ll receive our 10 Essential Genealogy Research Forms PDF as a special thank you.
Get Your Free Genealogy Forms
"*" indicates required fields
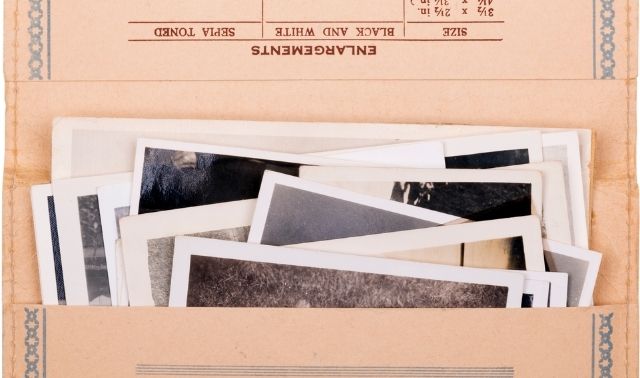
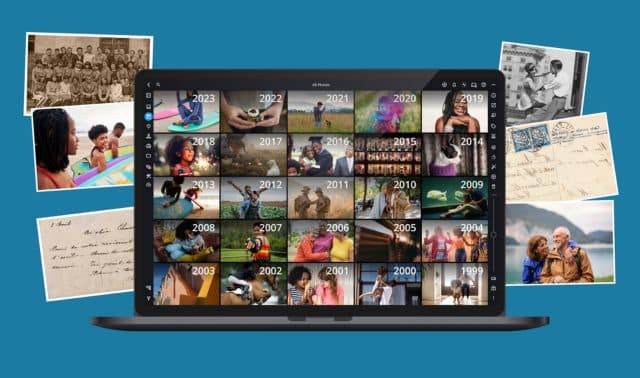
Scanning your old family photographs is simple and inexpensive, and once you have digital copies, you can easily restore, organize and share them. Using genealogy software, you can add photos to your family files. You can share photos via email or post them on Facebook and on photo-sharing websites. You can have prints made for display while keeping the originals safely stored away out of the light. And just in case something should happen to an original photo, digital copies in multiple locations serve as a backup. Get started scanning your pictures in five easy steps.
1. Buy the Right Equipment
You’ll need a computer and a scanner to scan your old family photos. A Mac or Windows computer will work with most scanners. Nowadays, even low-end computers are powerful enough to handle most photo-editing tasks.
But if you’re working with a large number of photos or digital video, you might need extra memory and hard disk storage space. An external hard drive is one option, or you could store photos in the “cloud” on a website such as Flickr.
ADVERTISEMENT
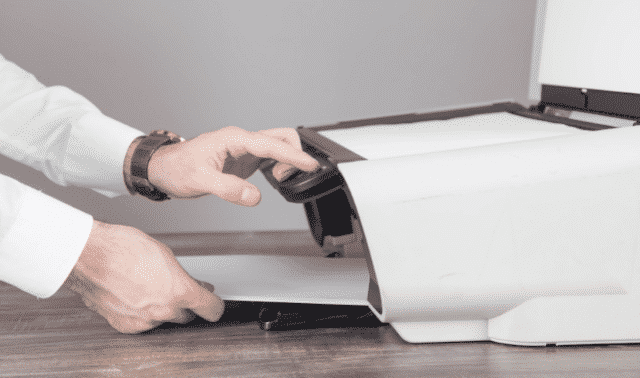
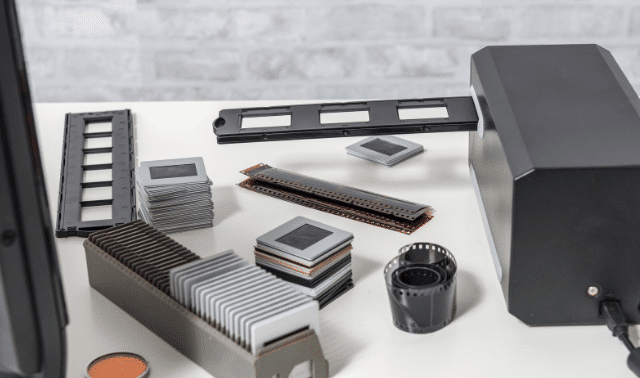
Even a basic flatbed scanner will likely fit your needs for digitizing photographs and documents (see step 3 for more on settings). Some even come with adapters for scanning negatives and slides. Most multifunction printers, though, don’t perform as well on photos as standalone scanners do.
Your scanner probably came bundled with basic photo management software, but you might find it worthwhile to use something more powerful.
2. Clean Your Scanner and Prepare Photos for Scanning
Some people wear white cotton gloves to handle their photos, but the gloves can be cumbersome and make it difficult to pick up prints. It’s OK not to wear gloves, as long as you wash your hands with soap, rinse them well, and handle photos and negatives only by the edges. Remove staples, paper clips, rubber bands and string from the pictures. If you’re working with a photo collection, try to preserve the images’ original order and scan them in that order. Adjacent photos can offer clues to an unidentified one.
ADVERTISEMENT
Keeping your scanner glass clean is a constant challenge. Instead of spraying glass cleaner on the glass, spray it on a lint-free towel and then use it to wipe the glass. Use a soft brush or a dust blower, like those used to clean a camera lens, to remove dust from each photo before you scan it. Canned air is fine for blowing dust off slides, but its force could damage old prints.
If you want to scan photos mounted in an album, take them out if you can. (Photograph each page so you can put the pictures back in the same spots after scanning.) If the photos are permanently mounted, see if you can separate the pages and scan each page. If you can’t, move the scanner to the edge of the table and hold one page of the album as flat as possible on the scanner, letting the facing pages hang down along the side.
3. Adjust Your Settings
Before you scan your first image, check the settings in your scanner software. Three important settings you should look for:
- Color: Scan in color—not grayscale—even for black-and-white or sepia images. Although the color options produce larger files, scanning in color gives you more options for improving the images when you edit them.
- Resolution: Choose a high resolution: 300 dots per inch (dpi) is satisfactory for reprinting a picture at the same size as the original, but you might want to print an enlargement later or zoom in to the photo on your computer screen. If your resolution is too low, the image will look blurry and pixelated. For your digital photo archive, you should scan small prints at 1,200 dpi and large prints at 800 dpi. These high-resolution scans take longer and produce larger files, but extra hard disk space is pretty inexpensive these days.
- File format: If your scanner software gives you the option, save scanned photos in an uncompressed file format, such as TIFF, for optimal image quality. The JPG format, used to email photos or post them online, is a less-detailed, compressed format. Because TIFFs retain more detail, they’re larger than JPGs and take up more hard disk space. If you scan pictures at a high resolution, you’ll notice little difference in quality between TIFF and JPG files, but JPGs do tend to degrade each time you save them. If you want to edit a JPG file, first save it in a TIFF format and keep an unedited copy of the TIFF.
4. Start Scanning
The exact scanning process varies by scanner, but it’ll be similar to these steps for scanning prints using Picasa photo-management software and a Canon scanner (that’s my setup), which uses the ScanGear scanner driver. [Editor’s note: Since this article was written, the Picasa software has been retired. But you can still likely use a process similar to the one practiced below in your own photo-management software.]
Set the photo facedown on the clean scanner glass. Be sure to scan the whole photo, not just the most interesting part—you can always crop it later. Open Picasa and click the Import button. Select your scanner under Import From. The ScanGear driver offers three tabbed options for scanning prints:
- Simple mode lets you scan a single photo at a maximum resolution of 300 dpi in three steps.
- Advanced mode gives you more scanner settings, with a maximum resolution of 1,200 dpi.
- Multi Scan lets you quickly scan up to 10 items at a time at a maximum resolution of 600 dpi without doing any image correction.
Because we’ve recommended using 800 or 1,200 dpi, we’ll use the Advanced mode. Under Input Settings, select Color as the Color Mode. Click Preview, and your scanner will do a “rough” scan. This gives you a chance to straighten a crooked photo and remove any dust or lint. If you’re scanning just one photo, you can click the Zoom button to enlarge the image. Adjust the rectangular scanning area by dragging the edges.
Optionally, use Image Settings for corrections such as removing dust and adjusting the color balance, brightness/contrast and tone. For instance, if the picture is faded, you could increase the contrast to improve the scan. If you use any of these auto-correct features while scanning, you might also want to scan the picture without those features on so you’ll have a digital image that accurately reflects the original picture.
To scan more than one photo as separate files, click Multi-Crop. The image-editing buttons don’t work in this mode, and like Multi Scan, the maximum resolution is 600 dpi. Otherwise, if your scanner supports a higher resolution, select 1,200 dpi for a small picture and 800 dpi for a large one.
Next, click Scan. Once the picture has been scanned, select the folder and name a new subfolder where you want to save the files, then click Import All. Double-click on an image to select it. Select Rename from Picasa’s File menu and enter a name for the image file. You might include an ancestor’s name, the date and location; for example: carter_john_1897bowieTX.
Picasa can open TIFFs, but it saves files only in JPG format. If you select Export Picture to Folder from the File menu, you can use the Image Quality button to control the degree of JPG compression. If the photo has any information on the back, such as a photographer’s imprint or a handwritten note, flip it over and scan the back, too.
5. Label and Edit Your Images
After scanning and saving the images, you also can use Picasa (or, probably, whatever photo-management software you have) to label and improve them.
Labeling your images with “tags” and captions makes it easy to find the photo you need and quickly identify who’s in it. Double-click on a photo in the library, then click on Make a Caption! below the image and type in a caption. Click on the Tags icon (or select Tags from the View menu) to show or hide the tags panel. Click on the People icon (or select Select People from the View menu to tag people. If Picasa sees faces, it will prompt you to tag them with names. If it doesn’t catch all the faces, you can click on Add a Person Manually.
Don’t edit the original image. Instead, make a copy to work on and keep the original file unchanged. You could add a tag such as –ed to the end of the name of the file you edit.
In Picasa, use the edit functions on the left to improve the images by cropping them, fixing flaws and correcting color, brightness and contrast. The simplest and quickest option, I’m Feeling Lucky, does an overall fix.
Picasa automatically saves your edited copy of the original photo in a hidden folder, so you can undo all edits at any time by selecting Undo All Edits from the Picture menu. (Two exceptions are the Red Eye and Retouch fixes, which are updated immediately in the original.) You may be surprised to find that most edits you make to a photo in Picasa don’t show up when you view the image outside Picasa—say, in Windows Explorer. To force a file to be updated on disk with your edits, go to the File menu and select Save. To save changes to a whole folder or album, use the floppy disk icon above the folder or album.
Once you’ve digitized your family photos, take the time to back up the files so a computer crash or house fire can’t wipe out your scans. Save copies to an online backup service, to an external hard drive (stored in a separate location from your computer) and/or to high-quality recordable DVDs. Share copies with family, too—the more copies out there, the safer your digitized photos.
A version of this article appeared in the January/February 2013 issue of Family Tree Magazine.
Related Reads
ADVERTISEMENT


