Your old family photos probably have dust and scratches on them, or they may have yellowed from age. In other photos in your family album, the shadows may have become shallow, making the image look faded and flat. In your ancestors’ day, the only way to fix battered pictures was to take them to an expensive photo retoucher. With today’s computer technology and a little practice, however, even amateurs can scan and repair old family photos, printing out new copies that look as good as the day the pictures were snapped.
Most people think of programs such as Photoshop and Photoshop Elements, both created by Adobe <www.adobe.com>, as tools for working with color images. But these powerful programs can come to the rescue or your old black-and-white photos, too. Their tools let you sharpen a scanned image, open up shadows, “clone” areas, “visually repair” torn or damaged photos, blur and even colorize black-and-white pictures. Best of all, you can experiment without risking further damage to your precious originals.
You’ll need a scanner to get a digital version of your damaged photo into your computer. You’ll need a computer, of course — both Photoshop and its inexpensive sibling Photoshop Elements work on Macs as well as PCs. And you’ll need a printer to share your retouched image with the rest of the family. Once you’re equipped, try these tricks.
Getting rid of dust and scratches: method 1
The easiest way to get rid of scratches on your scanned photo is to use the Dust & Scratches tool, found in the Noise group under Filter. This actually blurs the image a little, getting rid of the scratches and dust that may have accumulated on the photos. After the Dust & Scratches tool, try using the Unsharp Mask tool. It sharpens the image so it’s not as blurry.
Another way to eliminate dust and scratches on old photos is to use the Clone tool (it looks like a rubber stamp). After selecting the Clone tool, hold down the Alt key (option key on a Mac) and click in an area that’s similar to what you’d want to see in place of the dust or scratch mark. Then just click the damaged area of your photo to “clone” the good area onto the bad. “This is also useful in touching up blemishes on people’s faces in photos; simply clone an unblemished area onto the blemish.
Yet another technique is to use the Eye Dropper tool to copy the shade of an area, and then use the Paint Brush tool to paint over the dust or scratch. Try different tools to figure out which works best for the situation. The right tool will depend on the texture of the background around the scratch or dust, the intended effect and the amount of control needed to achieve that effect.
These three related fixes work best for targeted touchups. When you select the entire image rather than a single damaged area, they tend to soften the picture — sometimes, more than you’d like. That leads us to method 2, which takes longer and requires the full Photoshop program, but the end result is much better.
Getting rid of dust and scratches: METHOD 2
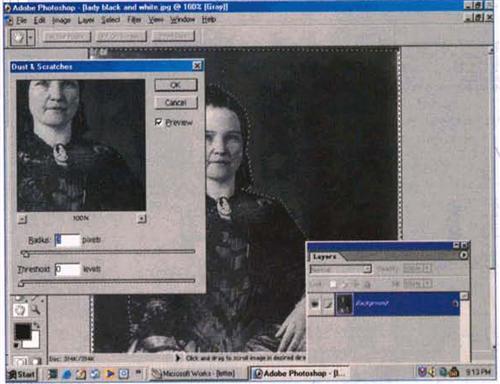
Now select the History window and click on Take New Snapshot (not available in Photoshop Elements). This will save your cleaned-up photo as Snapshot 1. Next, select Edit, then Undo Dust & Scratches — that puts your picture back to where you started. Select the History Brush tool and click on the little box to the left of Snapshot 1 in the History window. Then, select the blending mode on the toolbar. If you have dark spots on a light background, choose lighten; to fix light spots on a dark background, choose darken. Select the brush size, and then brush over the spots where the dust or scratches were. (For more on this method, see <eddietapp.com>.)
Colorizing black-and-white photos
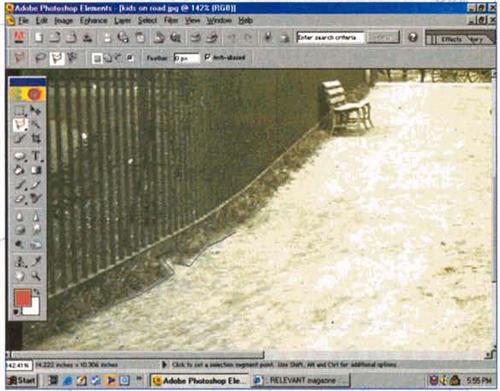
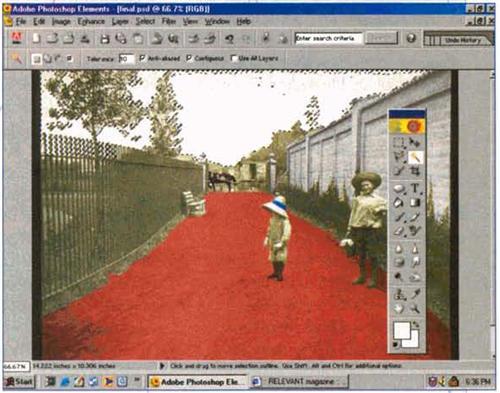
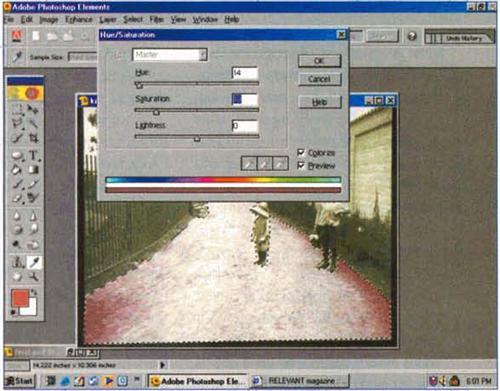
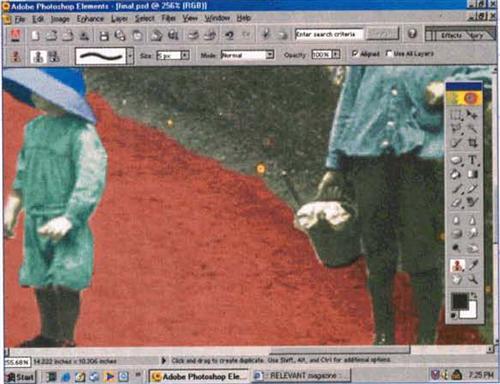
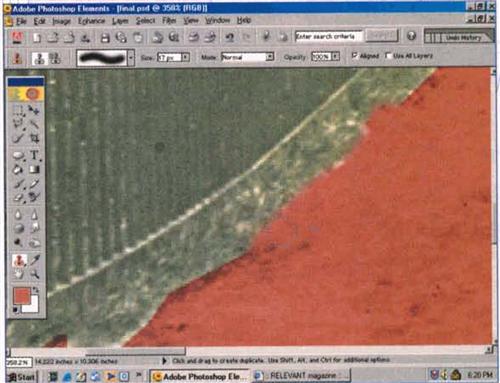
Many Photoshop and Photoshop Elements users think that “colorizing” a photo means just painting over it with the Paint Brush tool. But the texture of the underlying area gets lost when the Paint Brush lays down only a selected color, leading to a two-dimensional appearance when the intended look is three-dimensional. Here’s a better way.
The first step in colorizing an old black-and-white picture you’ve scanned in shades of gray (“grayscale”) is to convert it to the RGB format (short for Red-Green-Blue). Simply click on Image, then hover over Mode and select RGB.
Changing levels of light and shadows
By experimenting with the settings under the Image Adjustment tools, such as Brightness/Contrast and levels, you can adjust the light and the shadows in an old photo. Using the Variations command for shadows lets you open up the shadows more by making them darker.
Scanning Secrets


