Sign up for the Family Tree Newsletter Plus, you’ll receive our 10 Essential Genealogy Research Forms PDF as a special thank you!
Get Your Free Genealogy Forms
"*" indicates required fields
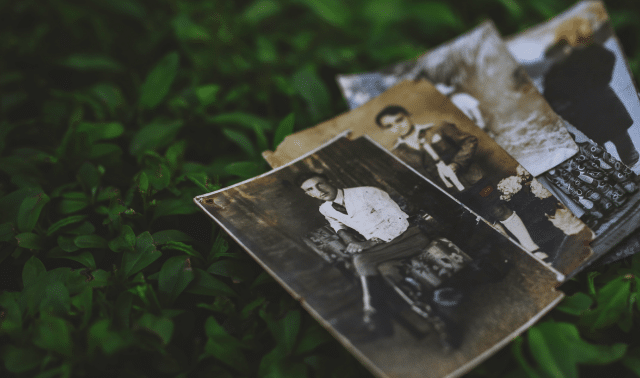
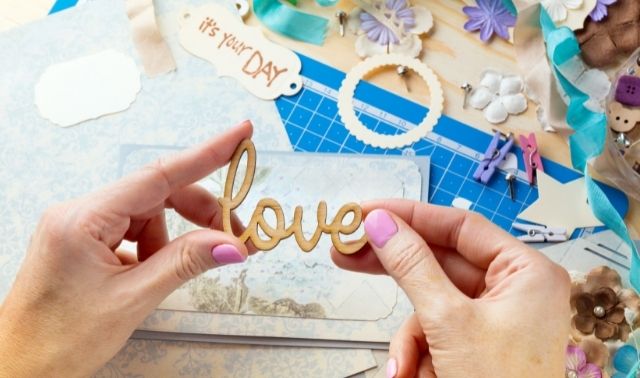
What do you need to create a scrapbook of your family’s history? You start with photos, memorabilia and research, of course. Then you turn those memories into a scrapbook using paper, pens, adhesives, stamps and photo corners. But now some scrapbookers are trading their papers and punches for scanners and software. They’re embracing the trend of digital scrapbooking—designing memory albums digitally rather than on paper.
Digital scrapbooking presents family historians with a whole new realm of possibilities for preserving and displaying their heritage. When you see the beautiful results of digital scrapbooking endeavors it’s easy to understand why so many designers are going digital. Jenna Robertson of Henderson, Nev., is one who switched: She’d been a traditional scrapper for years. One day, she decided to try laying out her pages on her computer. “I liked the computer layouts so much that I have never gone back to paper scrapping,” she says. Robertson’s current project is a heritage album for her in-laws—she has 5×7-inch photos made of her pages and places them in albums for gift-giving.
Digital scrapbooking advantages
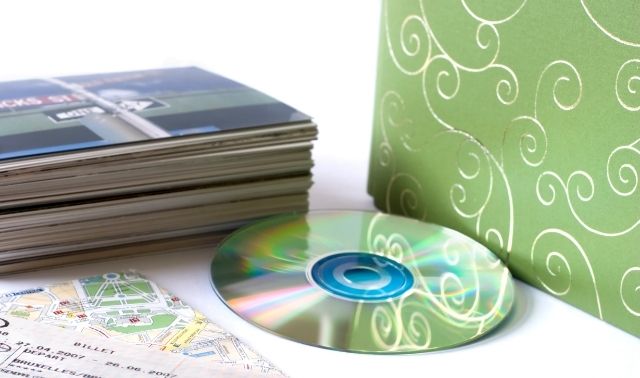
Those more skilled in computing than crafting can create a knockout album without special scissors or stickers. There’s no need to cut and paste—just scan embellishments or download them from copyright-free websites. Using electronic copies of photos and memorabilia helps avoid damage to precious family memories. And no worries about finding acid-free paper and embellishments. A digital heritage scrapbook is easy to share—just burn CDs, email copies to your kin or add them to your family website. But you don’t have to forego the tangible format entirely: With recent technological advances in printers, inks and papers, you can print out your pages and assemble them in a physical scrapbook that will last for the ages.
Fix photos
One fun aspect of digital scrapbooks is your ability to change history. You can use photo-editing software to remove parts of photographs (including annoying relatives) and add special effects. But don’t go crazy coloring Uncle Stan’s face green or swapping Grandma’s and Great-aunt Louisa’s heads—at least not in the family portrait you’ll use in your scrapbook. Your album will be a historical record, so he careful about altering pictures. As a historian, I like to represent history as it occurred. But if I need to erase cracks and scratches, or bring Grandpa’s skin to a more natural hue, photo-editing software gives me the tools.
Easy to design
You don’t need to be a graphic design specialist. All you need to create interesting heritage pages and albums on your computer is imagination, some basic hardware and software, and a willingness to try new things.
Digital scrapbooking supplies
Genealogists are technologically savvy—we use microfilm and microfiche readers, search the web and scan documents; use laptop computers and digital cameras. So you probably already have two basic tools for starting a digital scrapbook: a computer and an internet connection.
Your computer must have adequate storage capacity to handle graphics software and whatever peripheral devices, such as digital cameras and scanners, you decide you need. Your Internet connection allows you to share your creations via email or take your digital scrapbooking to the next level by posting your work on a family website. When you think about it, what’s a family home page but a 21st century scrapbook on the web?
Beyond your PC or Mac and the Web, what other “supplies” do you need? Let’s look at a few essentials:
Photo-editing software
Image-editing programs let you retouch photos and documents, as well as create scrapbook pages. Digital cameras and scanners often come with image-editing packages. Typically, these bundled programs offer basics such as cropping and red-eye reduction, but they might not include more sophisticated features.
A professional photo-editing program such as Adobe Photoshop CC offers top-of-the-line, cutting-edge capabilities, but at $600-plus, it’s too pricey for average computer users, and it has a steep learning curve.
If you don’t have a graphic design background, plenty of other choices are geared toward amateurs:
Software and online design programs
If you want to start with fun templates and design ideas with basic photo-editing included, try digital scrapbooking software or apps:
You can also use desktop publishing software such as Microsoft Publisher (included on many PCs) or Adobe PageMaker. These programs are relatively easy to use but offer few, if any, photo-editing features.
Carefully read the system requirements to make sure they’re compatible with your computer. Some software works only with Windows, for instance, while other packages may be designed for Macs. Once you pick a program, play with it until you’re comfortable using the features. When editing a photo, make a copy first in case you accidentally, say, remove Dad’s eyebrows instead of his red-eye.
Digital camera
Digital cameras have many genealogical pluses. Take the camera with you to a relative’s house, and copy family photographs. Going to a family reunion? Tote the camera with you and send pictures to relatives postage-free. Of course, when it comes to e-scrapbooking, digital cameras are especially convenient: Just download, select and design.
Should you decide to buy a digital camera, pick one that meets your technological needs as well as your budget. Try it out at the camera store, and read reviews. The keyword in this technology is megapixel, which measures image resolution. If you intend to make traditional prints for your heritage albums, get a camera offering several megapixels in resolution, so you can get crisp-looking pictures.
Scanner
These gizmos aren’t just for copying photos to your computer. Add embellishments to your digital pages by scanning fabric, designs from heirloom objects, old magazine pages, or mats and backgrounds from old photographs. Scan memorabilia such as ticket stubs, buttons or pressed flowers. With scanners selling for less than $100, they’re investments with value that far outweighs the price tag. Most flatbed scanners come with image-editing software; some include scanning wizards that lead you through the process.
When you scan images, you’ll select the type of image, output type and resolution. For image type, use color when you want to reproduce the look of a heritage photograph (even a black-and-white one); if a color photo has failed or you want a more dramatic effect, convert the color scan to a black-and-white image using photo-editing software.
How you’ll use your scanned images will help you determine what output type or file formats to create. For example, it you plan to post your pages on a website, save your photos as JPEGs or GIFs. A TIFF format is better for images on pages you’ll print out. Also consider the pictures’ resolution (measured in dpi, or dots per inch): Web images are typically low-resolution, so the web pages don’t take forever to load. But to get a high-quality printed picture, your images should be at least 300 dpi. Save two versions if necessary.
Storing digital scrapbook files
Like traditional scrapbooks, digital scrapbooks have their own set of preservation issues—namely, how should you store electronic files? And how do you ensure your creations won’t become victims of technological obsolescence?
If you aren’t consistently backing up your pictures, data files and electronic heritage-album pages, repeat after me: I will back up my files. I will do it on a regular basis. I will make two copies of the backup. Creating two copies covers the just-in-case clause of computer operation—you never know when your computer will crash or you’ll hit a wrong button and inadvertently erase your disk or drive.
Save your files in a format such as JPG, TIF, GIF or PDF, which will embed the fonts and images into one layer that can be viewed in several programs. Name your page files with the topic and date so you can quickly locate them. Keep separate copies of the digital photos, as well.
CD-ROMs and high-capacity external hard drives work well for making backup files. While CDs used to have shelf lives of less than 10 years, manufacturers now claim the discs last at least 50 years. Store your backup copies in separate locations where they’ll be safe from floods, heat, scratches and operator mistakes. Keep CDs in the same environment as you would your original photographs—in acid-free materials at a temperature of no more than 77 degrees and 40 percent humidity.
Another option is to upload files to a cloud-based server. Your files are automatically backed up online and, as long as you take security precautions, protected.
To avoid obsolescence, upgrade your equipment every few years and transfer your files to new media as the technology becomes available. Keep printed copies of your scrapbook layouts, too.
Digital scrapbook design tips
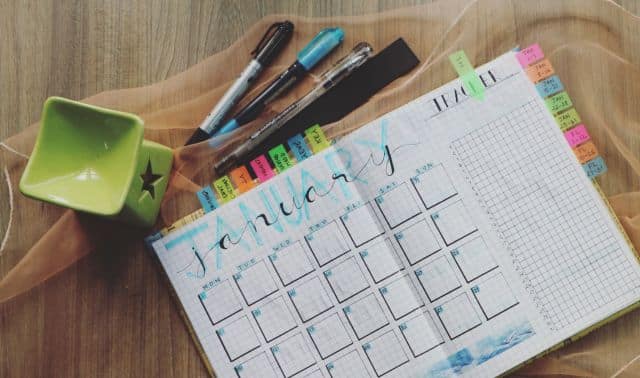
Begin by reviewing our tips on how to begin a family scrapbook project. These basic steps—deciding on your style (simple or elaborate), getting organized, choosing colors and embellishments, and using journaling to tell your story—apply to any heritage-album project. The only difference is you’ll be pointing and clicking instead of trimming and gluing.
Once you have all the tools, you’re ready to start designing. Of course, that blank computer screen can he intimidating: Where do you begin? Think about the elements of a handcrafted album page. The basic pieces —paper, titles, journaling, photos—all come together in a layout. The same principles apply when you’re creating a digital scrapbook, except your palette is your screen rather than a sheet of paper.
Start by setting up a document in your desired page size. For the background, draw a box and fill it with a color or image. Add photos and embellishments, and draw text boxes for page titles and journaling.
Consider these options for creating and embellishing your pages:
- Begin dabbling in digital scrapping with ready-made layout templates that need just your photos.
- Add graphics such as stamps, alphabets and doodles.
- Scan an old fabric or wall-covering design, patterns from dishes or anything else reminiscent of the subject of your scrapbook page. Use the scans as page embellishments or memorabilia.
- Like the decorative three-dimensional look? You can still get that effect: Images such as eyelets, burtons and stitched paper are available online. Or you can make an embellishment and scan it. Save the image to use on future pages.
- Use patterns instead of plain color as backgrounds for your images and text. High-resolution digital papers come in the traditional 12×12-inch scrapbook size, without “tiling” the pattern like many web backgrounds. Scrapbook software also includes attractive page backgrounds.
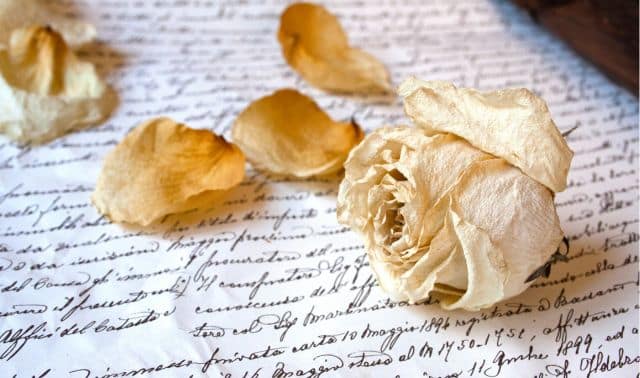
- Create your own background by scanning elements from photographs and handwritten documents. For instance, use an ancestor’s handwriting to make digital paper, or use designs from photographs to add frames around your pictures.
- Re-create the look of old albums with Scotch-taped photo corners.
- Journal using fonts that come with your software, or downloaded fonts.
Of course, these ideas only scratch the surface: Digital scrapbooking gives you endless possibilities for designing, preserving and sharing your heritage. If you think genealogy is addictive, just wait until you start expressing your family history with a digital heritage album.
Digital scrapbooking resources
Digital Scrapbooking for Beginners
Related Reads


ADVERTISEMENT