Sign up for the Family Tree Newsletter! Plus, you’ll receive our 10 Essential Genealogy Research Forms PDF as a special thank you.
Get Your Free Genealogy Forms
"*" indicates required fields

In This Article
Photo Books
Narrative Books
Family History Books
Are you the keeper of your family’s history? If so, you’ve likely amassed binders full of records and documents, and discovered fascinating family stories in the process. You’ve spent considerable time building a family tree that spans multiple generations. Perhaps you’ve inherited photos, scrapbooks or keepsakes that bring the past to life. If you’re lucky, you may even have an ancestor’s diary, family Bible or handwritten letters.
These are wonderful treasures to possess, but they bring with them a certain sense of responsibility. As your genealogy collection and knowledge grow, you may wonder how best to share your discoveries—and how to preserve your work for future generations.
One of the best ways to do both is with a family history book. A book organizes and preserves what you’ve learned in a reader-friendly format. It’s easy to give as a gift, take to reunions, donate to libraries, and pass down to the next generation. Better yet, web-based programs now make it easy to design a beautiful, affordable book. You choose a project type, upload materials, drag-and-drop your photos and insert text. You can even save your book to update as you discover more about your family history.
Three popular types of DIY-genealogy volumes are:
- photo books
- narrative books
- family history books
We’ll show you options for each and share a step-by-step tutorial for a sample project. We’ll leave you full of ideas and inspiration for creating exactly the book you want.

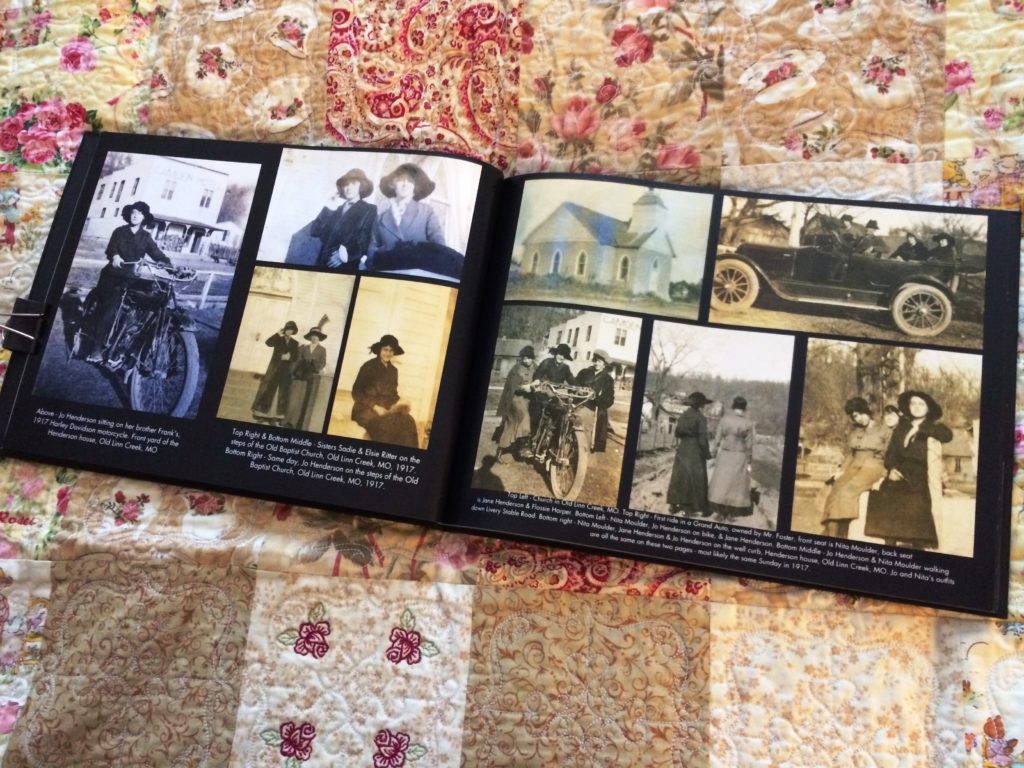
1. Photo Books
Photo books are simple to create, and their versatility lends them to an endless array of projects. Since they’re based around images, you don’t need much accompanying text. All you really need to get started is a set of pictures—or things you can scan or take pictures of—that go together. Printed in full color on glossy paper, these relatively inexpensive books make wonderful keepsakes and gifts.
Photo books are ideal for a single subject or focus: one person or couple, one place, one event or one collection (such as Great-grandma’s recipes). Think about the photos you’d like to share and preserve, and how they might be presented together in a book. Or if you have a story you’d like to tell, look for images to illustrate it. Consider your audience. Who might read the book? What are they likely to find interesting and engaging?
Some ideas you might consider for a family history photo book include:
- Biographical sketch: photos of an ancestor and his family, the place(s) they lived, and historical records, along with biographical details and anecdotes
- Memoir: photos of a parent, grandparent or other relative, with text drawn from personal memories or interviews
- Historical family album: old photos and ephemera (paper products such as tickets and funeral cards), with identifying captions
- “Our family:” photos and brief descriptions of living family members, perhaps back through grandparents or great-grandparents, ideal for giving to a child
- Family reunion: photos from one or more family gatherings, with identifying captions
- Ancestral hometown: photos from a place where ancestors lived, perhaps enhanced with maps and antique postcards
- Home history: photos of a family home or cottage enjoyed by multiple generations over the years, with notes or quotations about what it means to people
- Scrapbook or album reproduction: digital scans of the pages of an old scrapbook or photo album, with an introduction about the book and descriptive notes or captions
- Recipe collection: digital scans of handwritten family recipes, perhaps with photos of favorite foods and a family chef’s utensils or dishes
- Heirloom collection: digital images of family heirlooms and keepsakes, with descriptions of their origins and how they’ve been passed down.
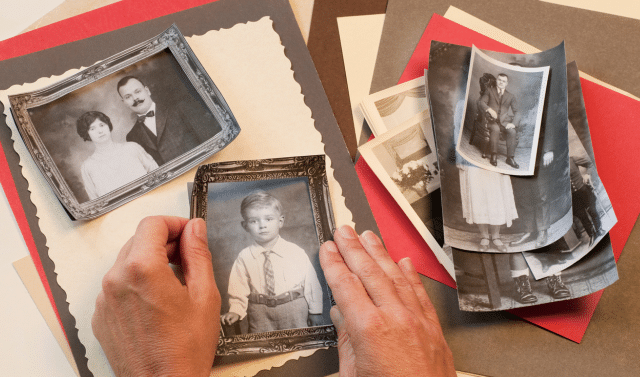
Once you have a book idea in mind, gather the materials to be included. Scan old pictures, scrapbook pages, recipe cards and other items. As you scan, give images descriptive names and group them together in a folder on your computer desktop. This way, you can easily find them later.
Next, write an introduction, description, short story or other text for your book in a word processing program. Don’t worry if it’s not perfect—you’ll have plenty of opportunities to refine it. Writing helps you focus your thoughts, gives you ideas about how to present the material and prepares you to copy and paste into your book template.
Photo Book Makers
You can choose from several online photo book publishing websites. They all essentially work the same way, but each has its own ready-made themes or templates, page designs, and embellishments. Printing costs depend on the size of the book, number of pages and cover type. I generally recommend choosing an easy-to-handle (and fit on a bookshelf) size such as 8×11, 11×8 or 10×10 inches. Some of my favorite photo book websites are:
- Blurb: Build your book using one of the ready-made layouts or download the free design software to create your own.
- Mixbook: Among the 84 family-oriented design themes are memoir, cookbook, reunion and family history.
- MyCanvas: Design options include reunion scrapbook, vintage album and recipe book designs. This site can import images from your Ancestry.com family tree.
- Shutterfly: You’ll see dozens of customizable themes, such as family memories, reunion, a life’s story, family ancestry and recipes.
- Snapfish: Again, you can choose from a variety of sizes and family-based themes. After you’ve gathered your photos and selected a web publisher, creating a photo book is fairly simple and straightforward.
Most sites have tutorials and offer sample layouts to give you ideas. Typically, you’ll follow this procedure:
- Upload your images to the website.
- Select a design theme or template.
- Place your photos in the template, resizing and rearranging as desired.
- Adjust backgrounds and layouts, if desired.
- Add text by typing or pasting it into the spaces provided.
- Proofread, edit, and preview.
- Place your order. Within a few weeks, you should receive a beautiful, full-color book in the mail. By that time, you may already have an idea in mind for your next project. And now that you’re familiar with the website and how it works, the book will be even easier to create.
2. Narrative Books
Perhaps you’re short on photos, but have a lot of information to share about a family or individual. You may have already written a story. In that case, a more traditional, text-based book might suit your needs better. Narrative books allow you to tell more complex or in-depth stories. They can include a few illustrations, but the emphasis is on the writing rather than the images.
Narrative books are usually printed in a standard book size, such as 6×9, 8×10 or 8.5×11 inches. Depending how much you want to spend, you can publish in black and white or full color on a variety of paper types. You’ll design your own cover and select paperback or hardback. Some narrative books you might put together include:
- Ancestor biography: Portray an ancestor’s life set within the historical context of the time and place in which he or she lived.
- Numbered genealogy: This is a traditional family history identifying all the known descendants of an ancestral couple. To help readers cross-reference with pedigree charts and keep track of who belongs in which branch, it uses a numbering system such as Ahnentafel or Register.
- Family origins: Select a family central to your research and tell the story of their life, migration and origins.
- Annotated journal, diary or letters: Share transcriptions of an ancestor’s writings, enhanced with notes on family background and historical events.
- Creative nonfiction: This type of narrative provides a historically accurate account of an ancestor or family using literary elements such as plot, characterization and theme to tell a meaningful, engaging story.
Whatever kind of narrative you have in mind, it’s best to write and edit your manuscript in a word processing program before you begin the book-making process. All the services listed below let you upload a finished document or PDF file.
Narrative book online publishers
Most offer samples of books you can browse, and some have video tutorials:
Blurb: You have several print options, and converting to an ebook is available. Use free desktop software called Bookwright to design and customize layouts. You can sell books through Blurb or other distributors.
Bookemon: Choose from a few different book types and use the Quick & Easy document uploader or All-in-One Book Builder software. Books sell through Bookemon.
Lulu: Choose among multiple sizes, papers and bindings. The Lulu Cover Wizard will help you design your cover. You may sell through the site and other distributors, and ebook conversion is available.
Stories to Tell: This company isn’t a DIY online publisher in the sense of the above services. Instead, it offers assistance with editing, design and publishing decisions, especially for biographies, memoirs and family histories.
Once all the writing, formatting and design elements are done, you’ll no doubt be eager to see your finished book in print. In addition to ordering copies as gifts, consider purchasing extras to donate to genealogy libraries, repositories where you’ve researched, and libraries in your ancestors’ hometown. The more widely your work is distributed, the more likely it is to reach relatives who want it, now or in the future.
3. Family History Books
If the process of writing and creating a narrative book seems a bit daunting, but you envision more than a photo book, a third option hits a sweet spot between the two.
MyCanvas offers family history book templates that integrate genealogical records, family group pages, timelines and pedigree charts with text and images. The publisher, Alexander’s, partners with subscription genealogy site Ancestry.com. If you have an Ancestry Member Tree, MyCanvas will import the information, document images and source citations from your tree directly into your project. This saves time you might otherwise spend entering and formatting data. (You don’t have to have an Ancestry account to use MyCanvas, though.) MyCanvas is web-based, so you don’t need to download software.
You can choose from four types of family history books:
- Standard book: This book traces the ancestry of a person, working back through time. It’s ideal for showing the origins of a family or for birthday, graduation, new baby or holiday gifts.
- Combination book: This option illustrates the ancestors and descendants of one couple, great for anniversaries, holiday and family reunions.
- Descendant tree book: Working forward through time, this book documents descendants of an ancestral couple. This is great for family reunions.
- Descendant list book: This book is similar to the above descendant tree book, but it emphasizes text over photos. Consider it for large reunions or donating to libraries.
You can choose from several cover types (which you can change later in the process). Once you’ve made a selection, MyCanvas gives you the option to either connect with your Ancestry user name, or to build a book with blank templates. MyCanvas generates pedigree charts, family group pages, ancestor timelines and record pages from your Ancestry family tree. You also can add text and pictures, add themed or blank pages anywhere in the book, and rearrange pages. Most of the MyCanvas tools are fairly intuitive, but before you begin, you may want to watch the site tutorials under the Support tab. You also can watch the free video course “MyCanvas: Creating Family History Keepsakes”.
One final tip applies to any type of project you create: These days, it’s tempting not to print things when it’s so easy and inexpensive to share digitally. But it’s still important to print copies of your family history book for the sake of longevity. Print withstands the test of time. Your printed book never become inaccessible due to changing software, websites, digital media or operating systems—or because no one remembers what website has your saved project.
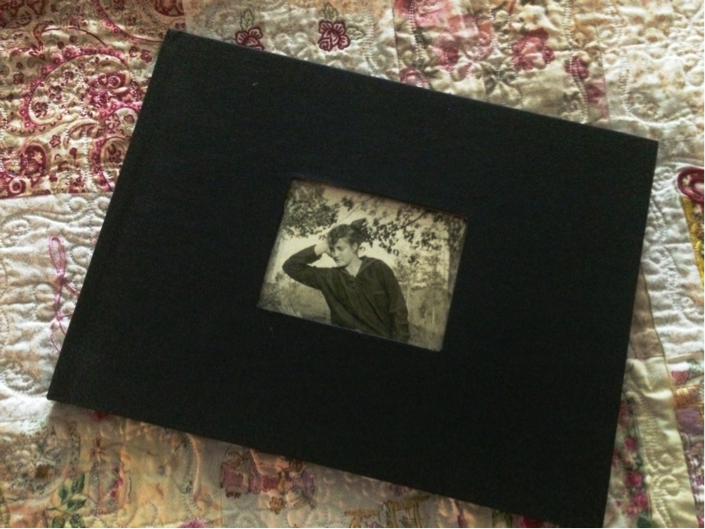
Family History Photo Book Example
By Diane Haddad
I did a family history photo book last year for my dad’s Christmas present. I think he liked it!

This kind of project can be big and time-consuming, but it doesn’t have to be. Here are some things I did to make my dad’s photo book a manageable project:
1. I decided on a narrow focus.
I chose to focus my family history photo gift book on my dad’s dad as a young man. Our family didn’t know much about his early life, and my research uncovered some interesting stories. For example, his academic achievements and participation in school activities were frequently featured in the local papers where he grew up in a state orphanage.
Had I decided to cover his entire family or his whole life, the project would’ve been a lot more complicated. Not that I couldn’t do this (and I hope to one day!), I’d just need to be able to devote the time.

2. I chose select photos and records to feature.
The book could’ve been 100 pages long, if I’d included every newspaper tidbit and genealogy record I’ve found. In deciding what to include and what to leave out, my priorities were:
- Things with photos, which included a few newspaper articles and college yearbook pages he appeared on.
- Items illustrating surprising or unknown aspects of my grandfather’s personality. For example, one article described how he jokingly ran as “Josephine” in the university’s Texas Sweetheart election (and nearly won).
- Records that explain life events, such as his mother’s divorce filing and the application for his admission to the orphanage.
A few other photos to show important places, such as the orphanage and the (now well-known) bakery where my grandfather worked.
I included source information under each record image. In the narrative, I used information from records I didn’t include pictures of.

3. Summed things up with a timeline/map combo.
In addition to helping me with the chronology of my grandfather’s life, it helped me organize the book. In creating the timeline, I looked through my records, newspaper articles and family papers. I composed the narrative as I did that.
4. My own copy of the book is the draft.
I’m a big believer that at least once, you need to see your work in the same format as your readers will. That’s why we view a printed proof of Family Tree Magazine before it goes to press.
I proofread my photo book carefully online, but when my printed book arrived, I still noticed a few typos and inconsistencies. (No doubt not looking at the book while waiting for it to arrive also helped!) So I marked them, fixed them online, and ordered another copy for my dad’s gift.

5. I gave myself plenty of time.
I started on my book in early October, working on it after the kids went to bed. I finished it just in time for Christmas. You might have more time to dedicate to your book, but if you haven’t started yet, I recommend doing it soon!
Four Ways to Make Your Family History Book More Engaging
Family history books are great projects for sharing family history. Once you’ve got all the essentials of your photo book planned out, take your project to the next level with these ideas for how to make your photo book even more engaging.
1. Tell your ancestor’s story with fewer words: You may not have 60,000 words to write about your ancestors, and that’s okay. There are plenty of stories that can be captured in a lot less. The key is to incorporate photos and documents, such as certificates, recipes, old letters…anything that helps tell the story. You’ll discover that with key visual elements, it’s not hard to fill up pages!
2. Put a unique spin on the tale: How a story is told and who is telling it can add a unique flavor to a story, so it’s worth putting your own spin on the tale. You can share your own memory of the ancestor you’re documenting, or show the origins of a family tradition and how your family has evolved over time. Are you inspired by your great-grandparents love story or journey to America? Tell how their legacy continues to shine through the generations.
Plus, if you are giving this as a gift to another family member, you’ll be giving a one-of-a-kind gift that you can guarantee they won’t get from anyone else!
3. Enrich the story with historical details: What was in the news at the time your ancestor lived? What local or global events were affecting them? Even if your ancestor wasn’t a soldier during a war, they might have had to deal with rationing or changes in their job. Add historical details through copies of old letters, newspaper clippings, and photographs of their hometown at the time.
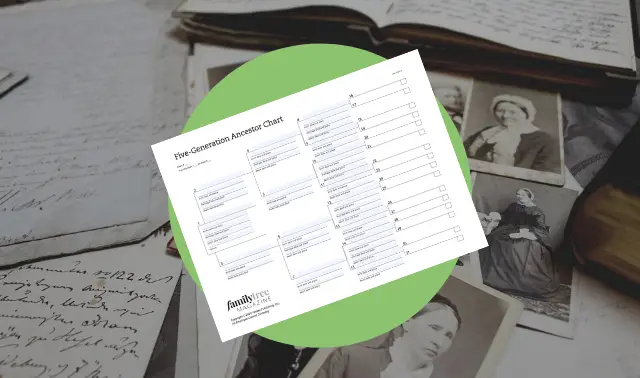
4. Create a timeline or pedigree chart: Of course, if you’re working with your family history, a pedigree chart is the perfect way to add a visual element to your photo book. But if you want another stunning way to add a visual graphic to your photo book, add a timeline! Timelines can serve as a decorative element in your book while illustrating the key moments in your subject’s story.
Related Reads


Last updated: November 2021
Pin It!