Sign up for the Family Tree Newsletter! Plus, you’ll receive our 10 Essential Genealogy Research Forms PDF as a special thank you.
Get Your Free Genealogy Forms
"*" indicates required fields
Part 4: The Ultimate Family History Photo Book Example
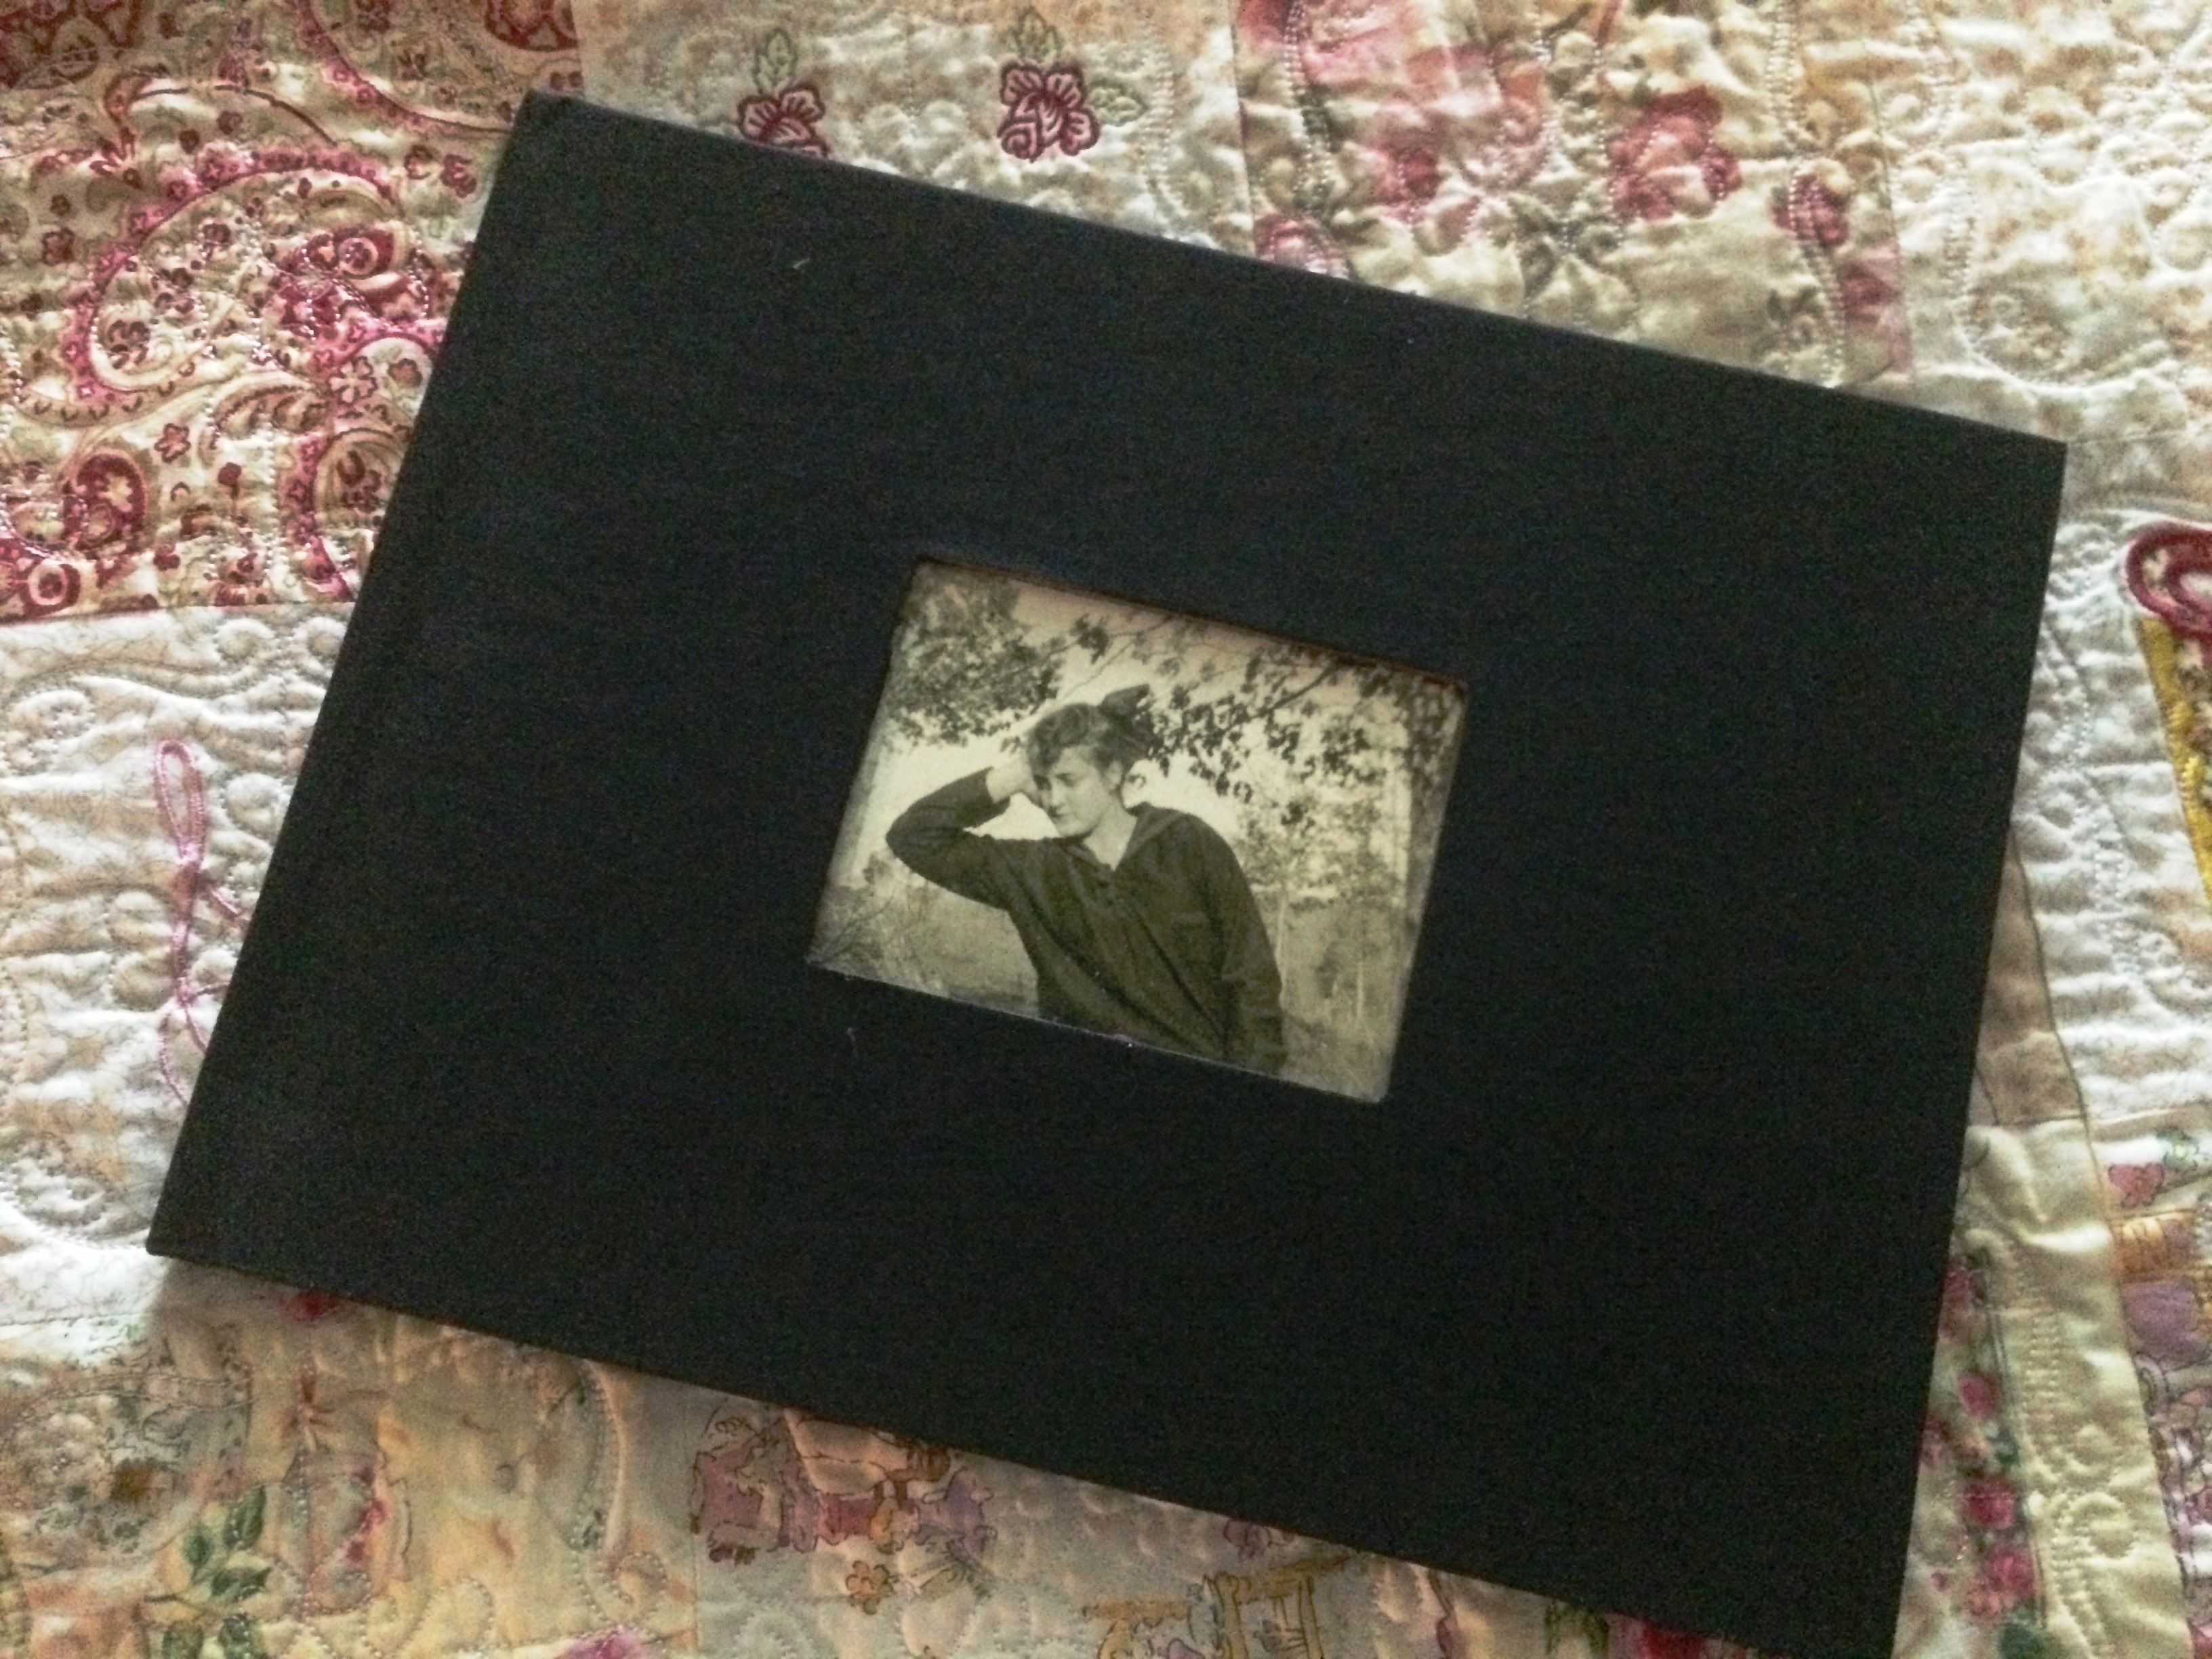
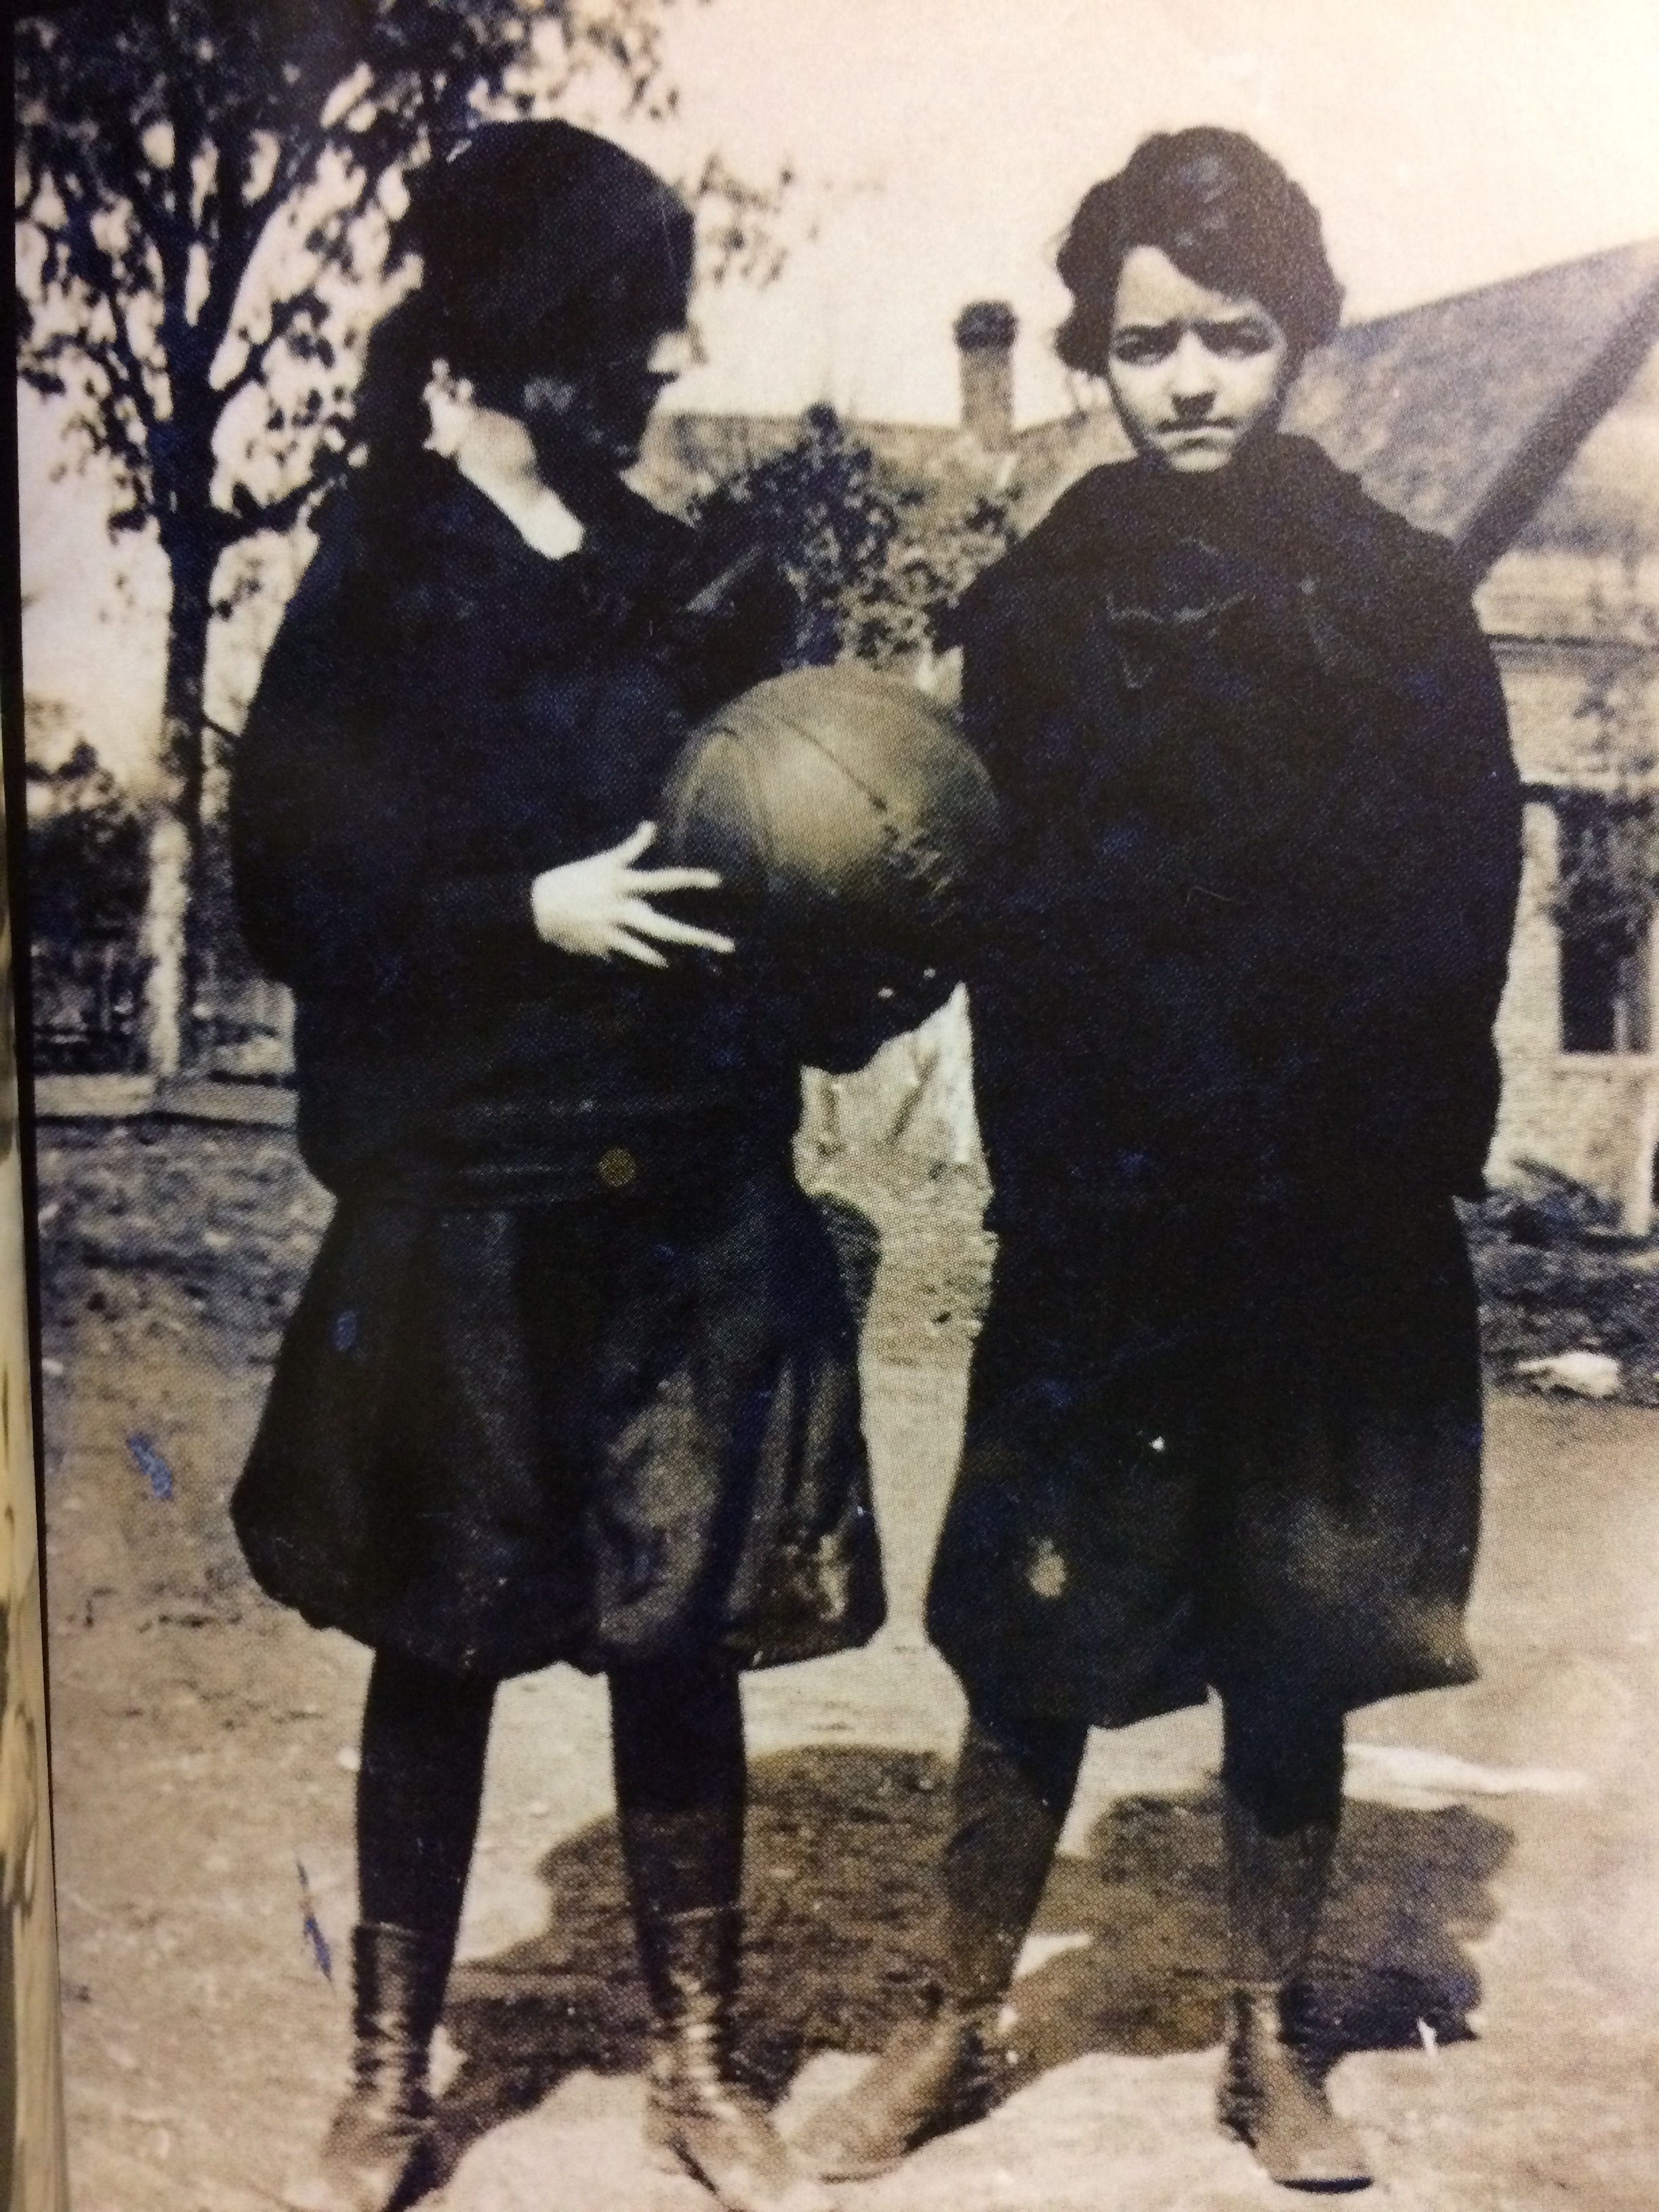
My great-grandmother Jo Henderson was born in 1899—at the dawn of a new century—in rural Missouri. As a teenager, she acquired a camera and took hundreds of pictures of friends, relatives and neighbors. She photographed fishing trips, the local swimming hole, Easter picnics, family gatherings, schoolrooms and front porches in Old Linn Creek, Missouri, a town that now lies under the waters of the Lake of the Ozarks.
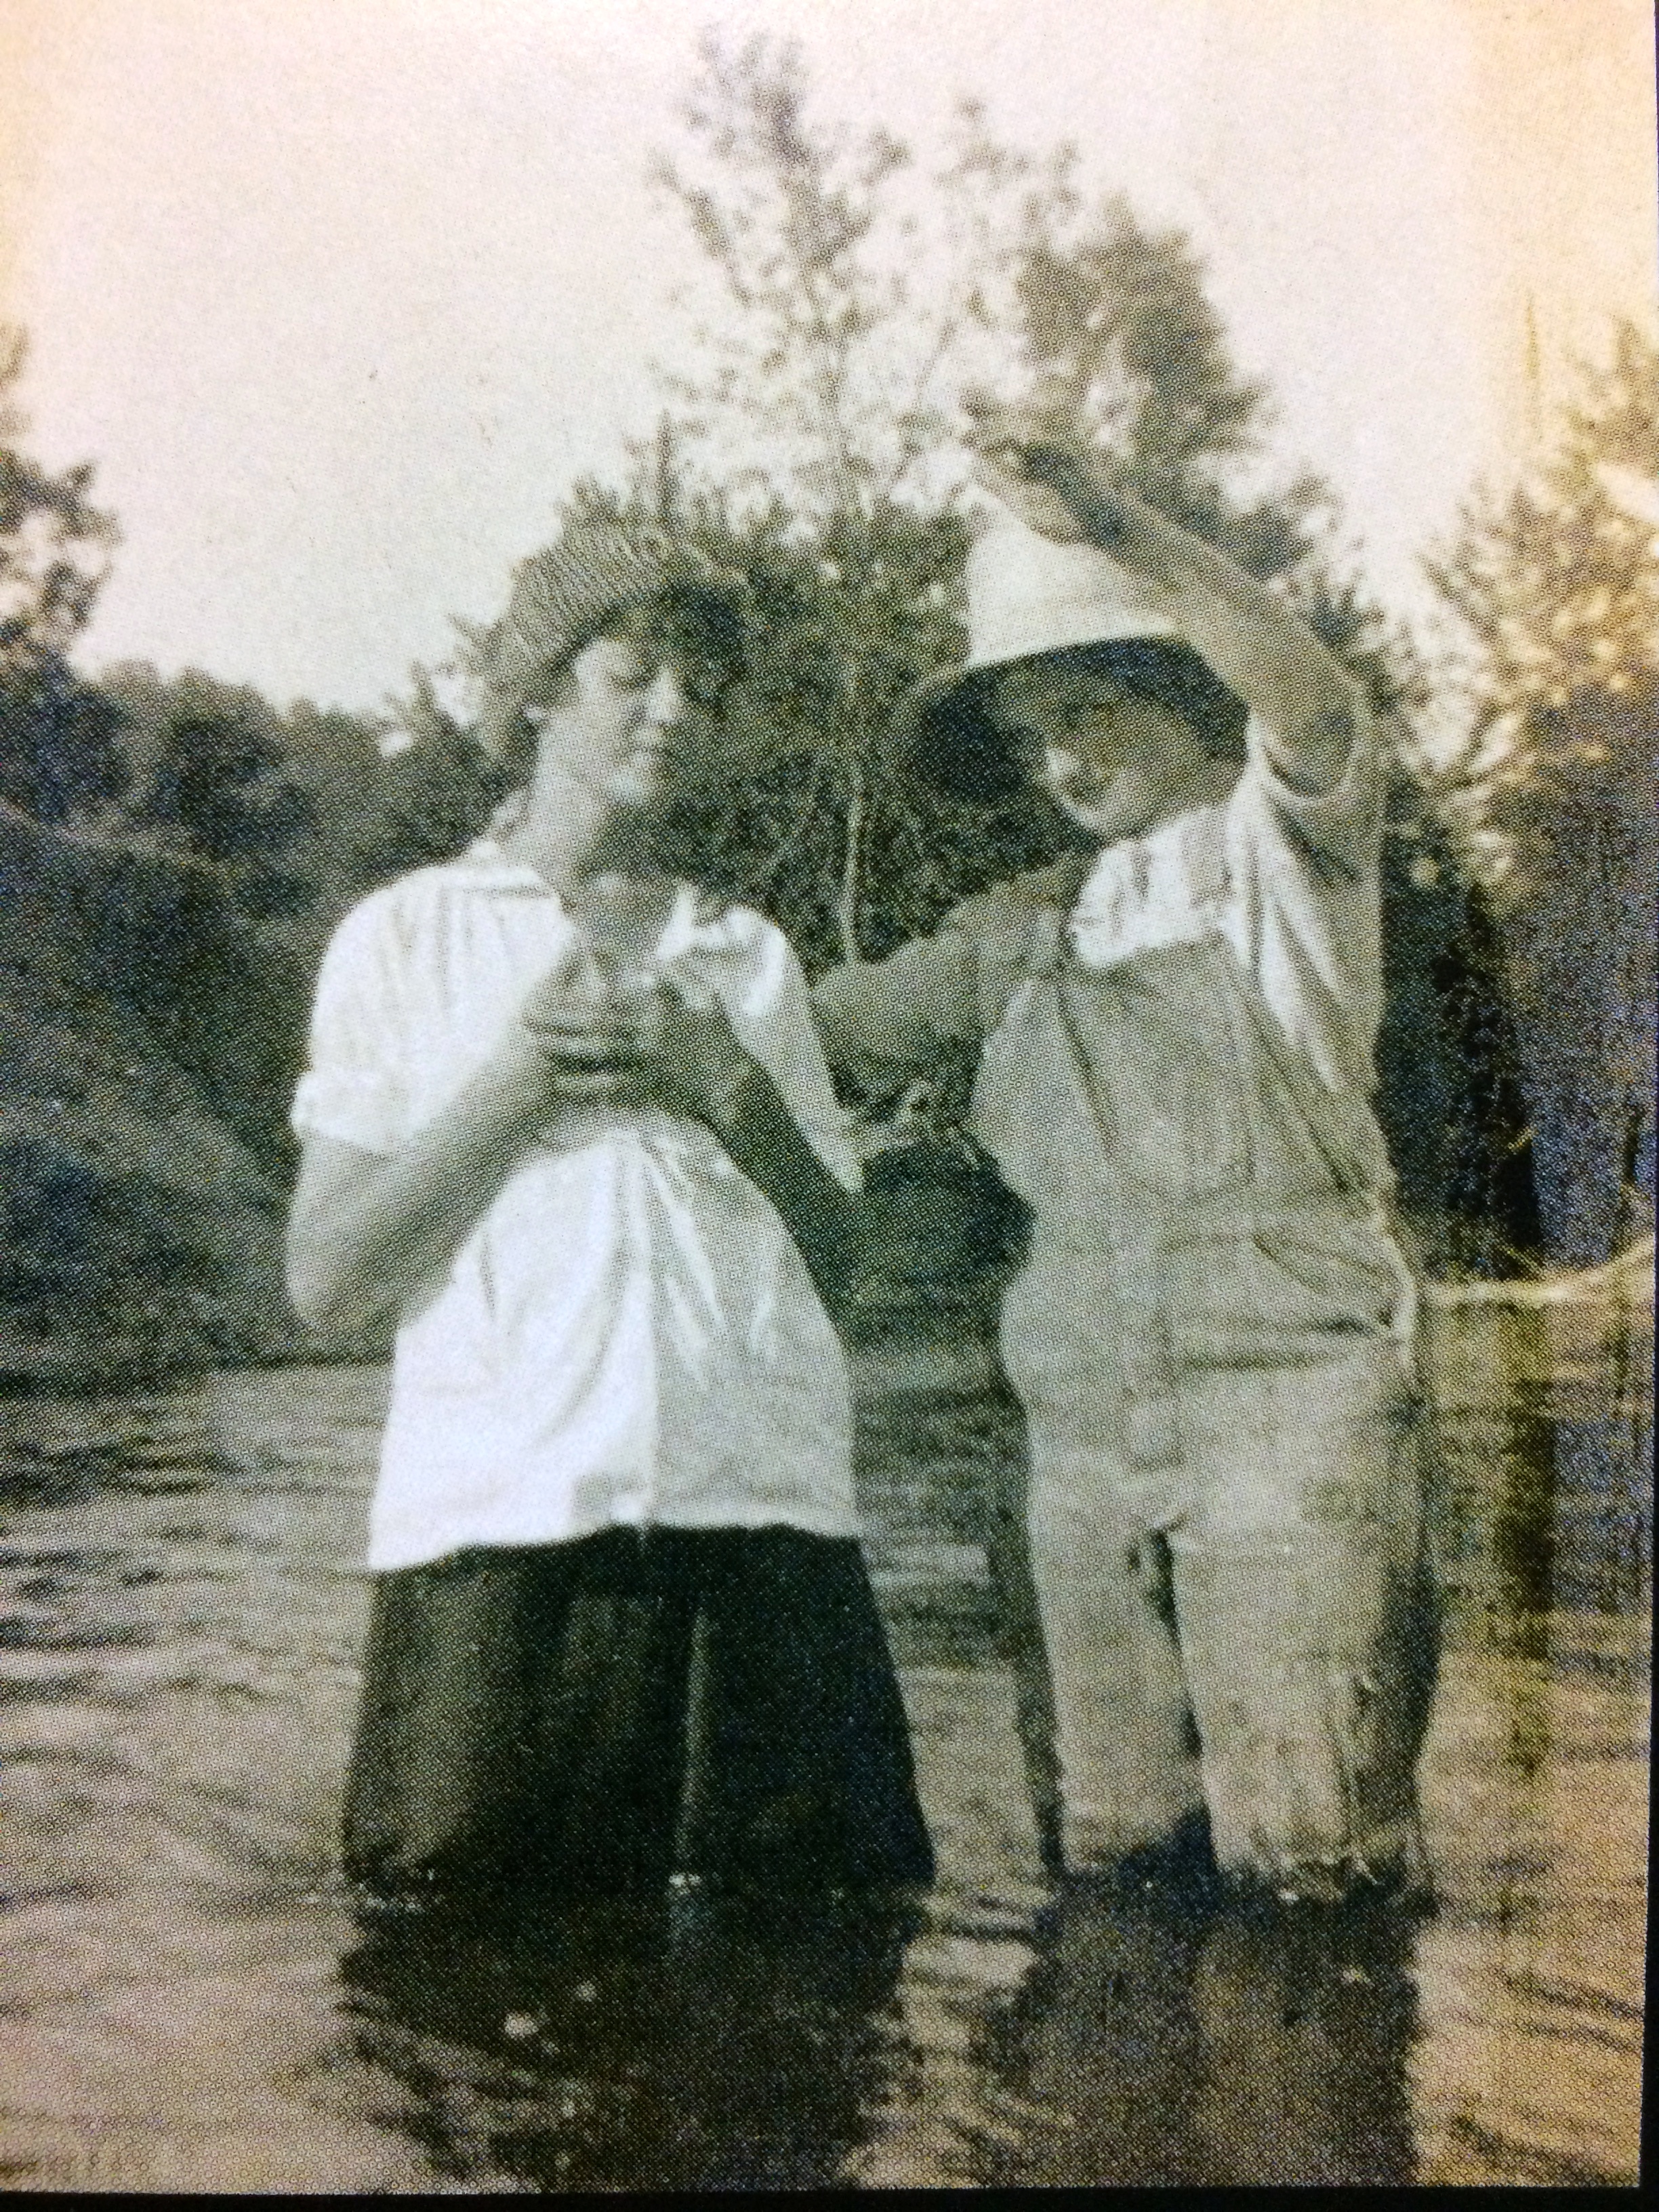
My favorites reveal rare glimpses of girls goofing off: perching on a Harley Davidson motorcycle, posing in bloomered basketball uniforms or their brothers’ Great War uniforms, playing “baptism” in the local creek, or sitting coyly with boyfriends.
As you can imagine, Jo’s photo album is a prize possession in our extended family. But it had been tucked away in one relative’s home and was gradually deteriorating. That’s why, a couple of years ago, my aunt Judie spent hundreds of hours scanning 300 high-resolution images and creating a 76-page digital photo book to preserve Jo’s album. She wanted to preserve the images to share them with family for years to come.
Preserving the Past
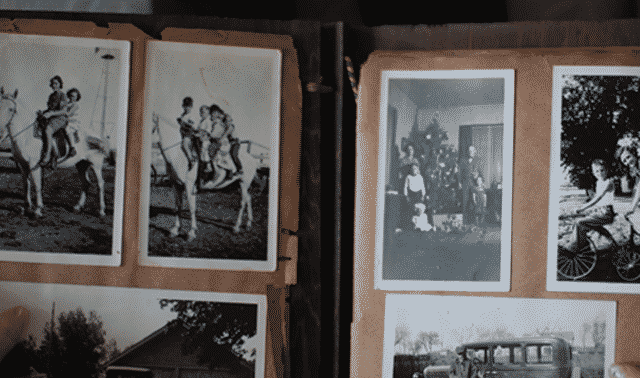
Judie’s first step was to decide to disassemble the original album. It had highly acidic black paper pages and many of the photos, postcards and memorabilia were discolored. She could tell the glue was brittle and most of the contents would remove easily, so she judged it worth the risk. (Here’s another perspective to consider on leaving an original old album intact.)
Before taking apart the book, Judie used her higher-end Epson flatbed scanner to make a digital “reference copy” of every page in Jo’s album. She planned to consult it for original item placement and captions. It provided image preservation insurance in case any got lost or damaged during the project.
Next, she removed the items from the album. As expected, most came away easily. For those that were partially stuck, she used a flat knife (micro spatula) to separate the picture from the paper, as shown in the quick video tutorial below. Judie is an experienced crafter and elected to tackle the job herself; others may prefer to leave this to a professional:
A few stubborn pictures required more drastic measures for removal. Judie’s solution was to take a damp paper towel—wrung out completely—and dab it softly beneath the picture until the glue dissolved. “In the process, I found notations on the back of the pictures we wouldn’t have known about otherwise,” she reports. “I also found other pictures beneath some of the pictures.” Another suggested process for separating photos from their backings is to use dental floss.
Next, Judie and her two grown children digitized each photo and piece of memorabilia at a very high resolution (2500 dpi) to create archival-quality digital files. Not everyone will find this necessary; this guide to scanning resolutions will help you decide what’s right for your project. Judie loved her ability to enlarge the photos. “Some of the pictures were so tiny you couldn’t get any detail, but when scanned at 2500 dpi I could make it into a 3” x 5” photo with incredible detail! All the detail was there—it was just too small to see.”
When it came time to lay out the images in a new digital album, she considered putting everything in the same order as the original. This would have preserved any chronological order and relationships between photos. In the end, though, Judie decided differently: “I rearranged it more like a storybook and put it in an order that was more interesting.”
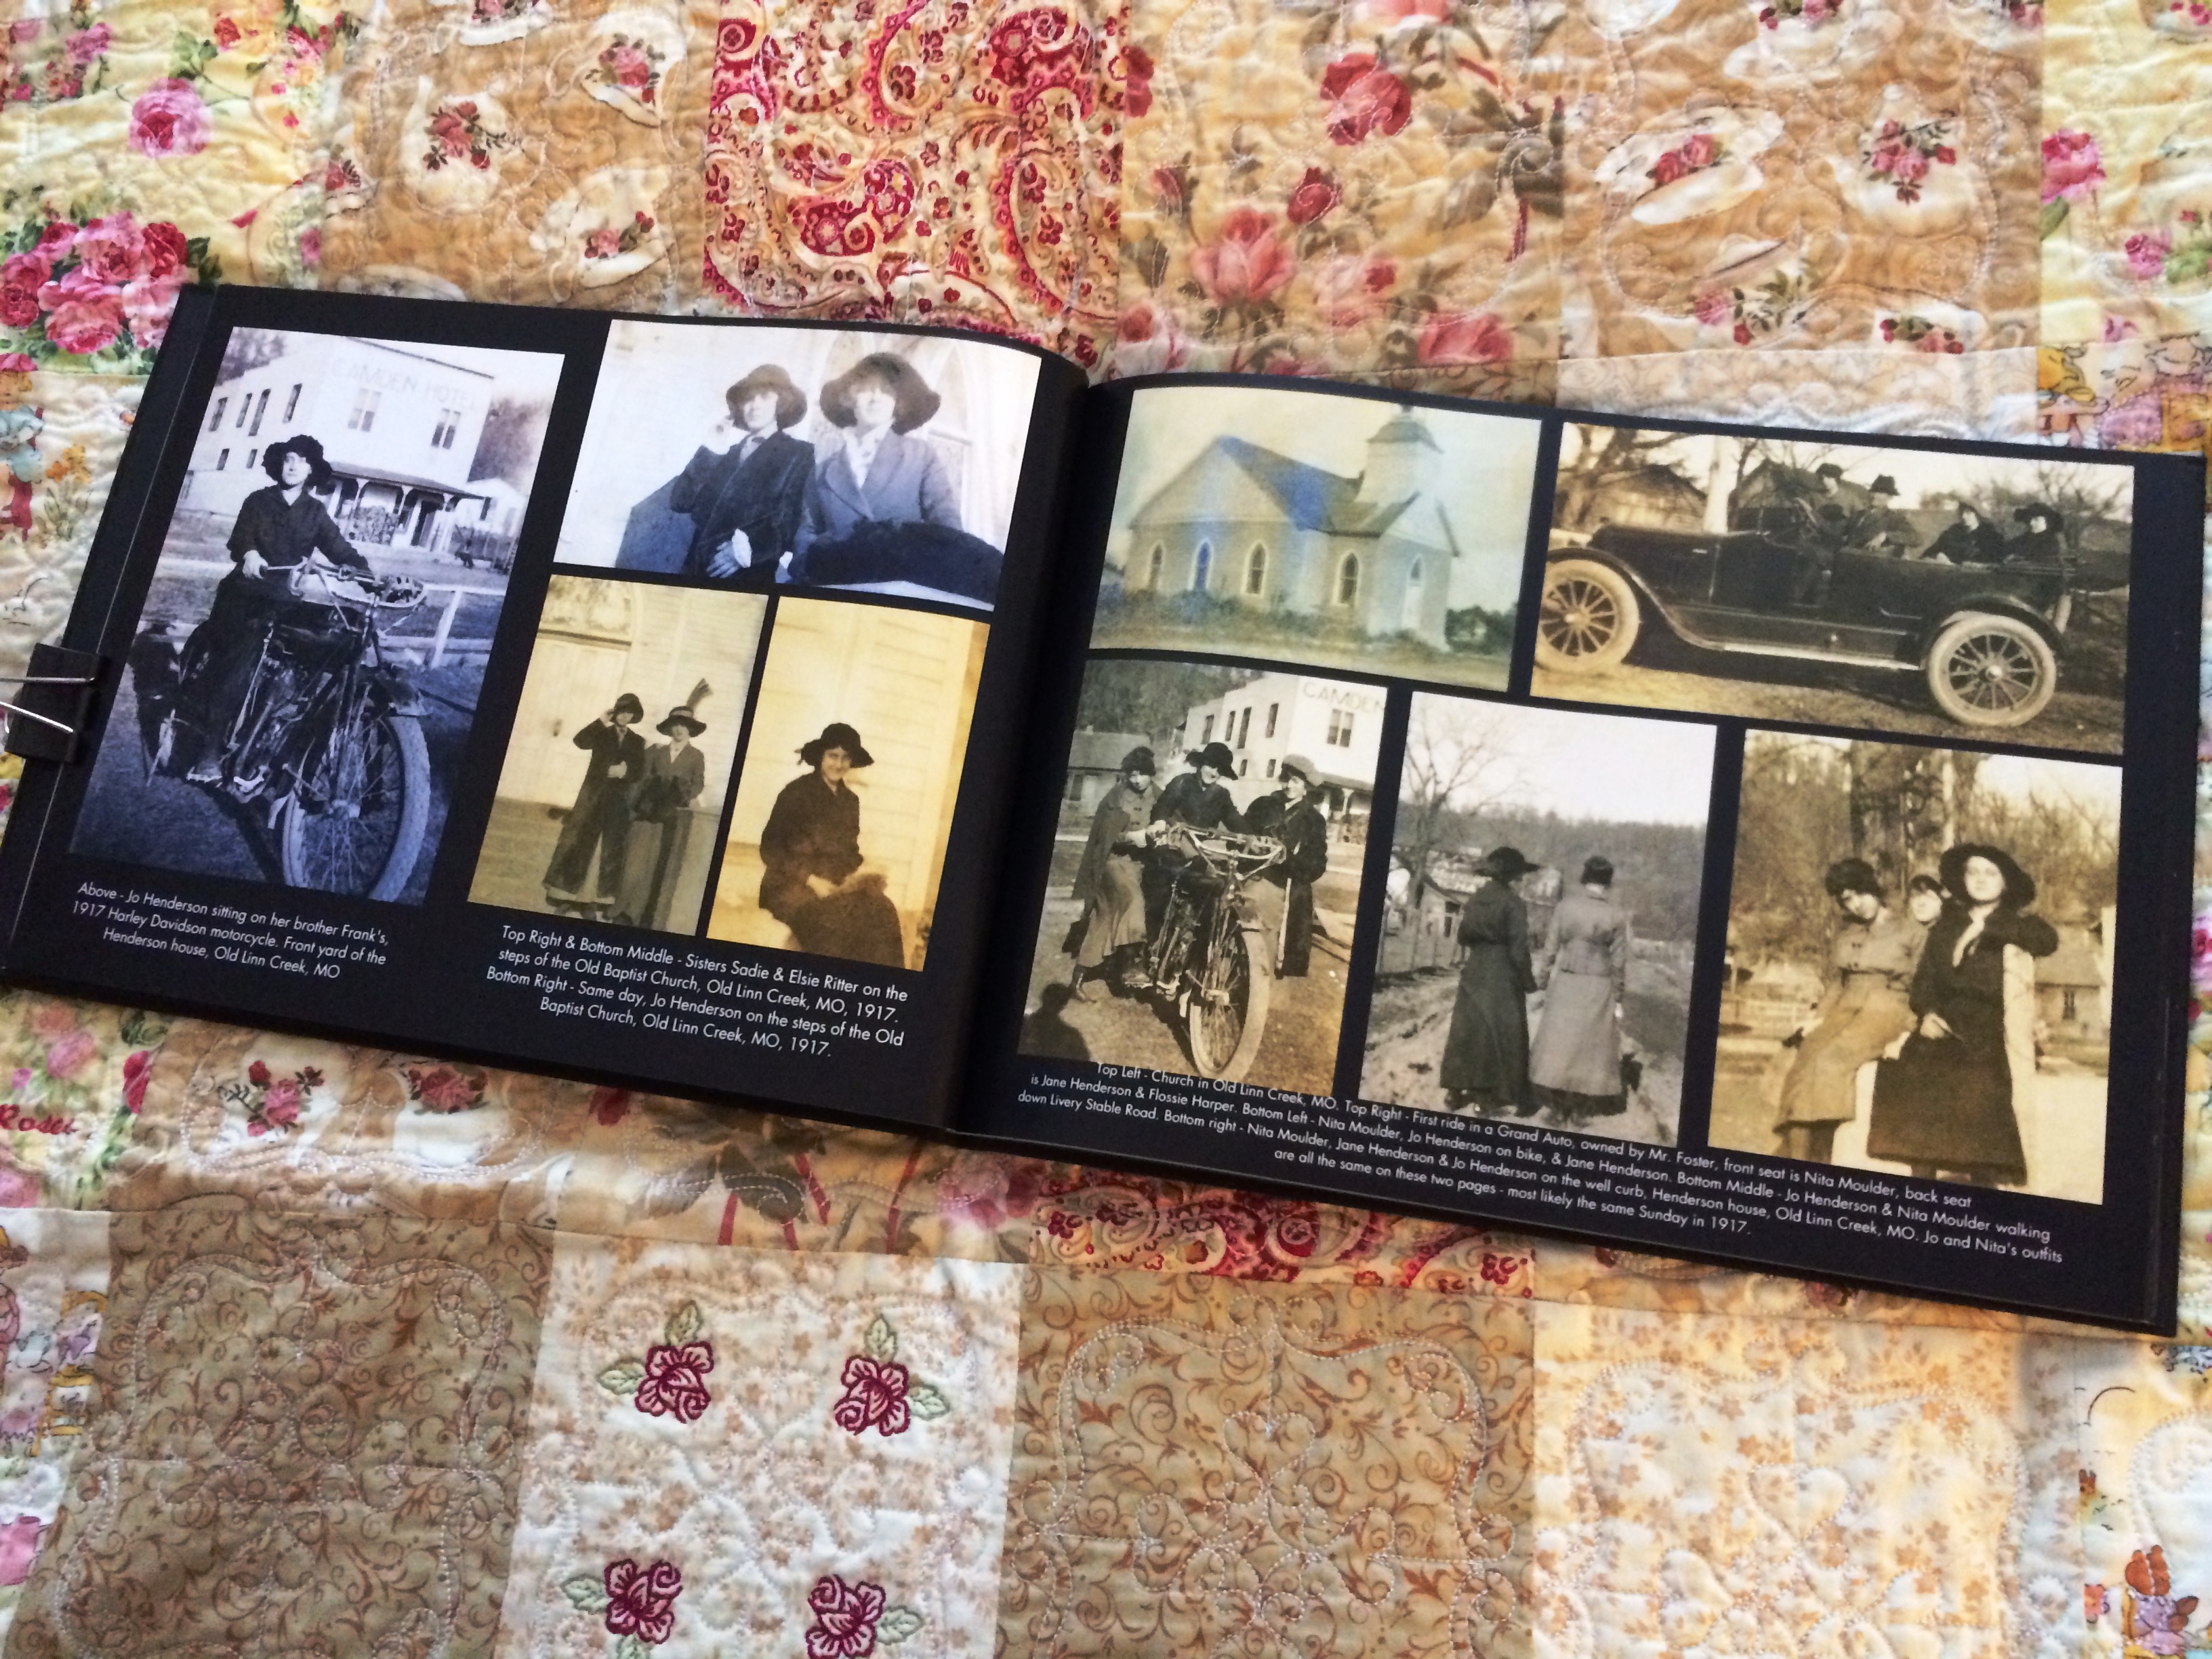
Laying out 300 photographs into a 76-page album took a week of full-time effort. Judie copied original captions from photos as well as notes she and my mother had taken years earlier when reviewing the album with their grandmother. Judie also did some background research on photo subjects such as a Pony Express rider who visited the family and Jo’s visit to Camp Funston, Kansas during the flu pandemic of 1918.
Printing the Photo Book
After considering several different printing options, Judie chose Walgreen’s. “Walgreens allowed me the most flexibility because I had an odd number of pages,” she explains. (Some printers, including some we recently reviewed in this article, allow additional pages on top of the standard 20-page book size.) The cost of printing each book was high because there were so many pages (about $75, she thinks), but Judie reduced that cost by using Walgreen’s coupons. In the end, it cost her about $300-400 to print one for each one of Jo’s grandchildren and great-grandchildren in our branch of the family.
“I wish I could have printed a few more, but the album is saved online, so I can print more,” Judie comments. “I can even prepay and send one to a Walgreen’s near someone’s location and they can just pick it up.”
Finally, Judie reassembled the original album contents into a new archival album. Her choice was top-of-the-line, with soft, archival pages and interleaving paper to put between the pages (so photos wouldn’t rub against facing page items when the album was closed). If she were to start the project again now, though, she’d look for an album with sturdier pages and use hinged adhesive strips instead of photo corners (the strips would secure images in place but still to permit the captions on the back to be read).
With each digital album, Judie included a note about why she did the project. Her desire was that we each have a better appreciation for our family’s roots. “Even if it means nothing to you now, I hope your grandchildren will stumble into it and want to see it,” she says. “Well, it means everything to me. It’s clear from Jo’s pictures that I look just like her—and I’m guessing we would be kindred spirits, too. I would have climbed on her brother’s Harley-Davidson motorcycle, too. In a hat.”
