Sign up for the Family Tree Newsletter! Plus, you’ll receive our 10 Essential Genealogy Research Forms PDF as a special thank you.
Get Your Free Genealogy Forms
"*" indicates required fields
There’s a lot of emphasis on digital photo-organizing these days. It’s justified. After all, when was the last time you took a photo on film, then had it developed?
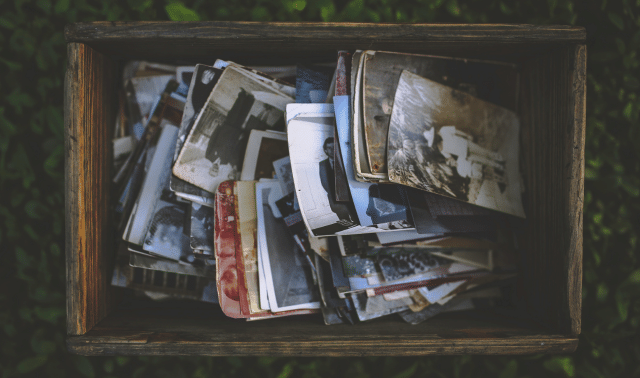
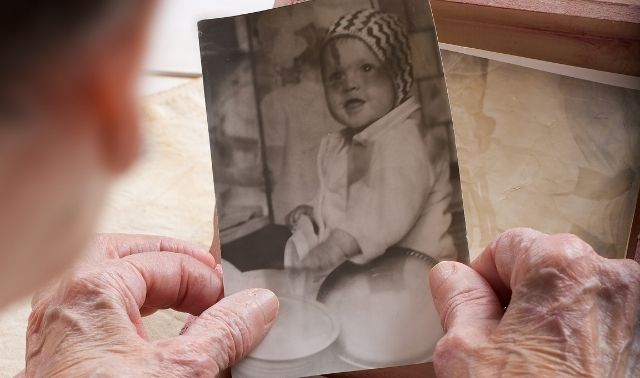
But that emphasis on digital photography and managing digital files can leave us wondering what to do with all those photo prints, both those we’ve created ourselves and those that we’ve inherited. These treasures capture the history of our family before the digital age. Renowned photographer Dorothea Lange wrote that “Photography takes an instant out of time, altering life by holding it still.”
Those snapshots, both color and black–and–white, preserve the past and the lives of our ancestors. And caring for them is not as simple as setting up a desktop backup routine. Damage can occur to prints due to storage location, high or fluctuating temperature or humidity, mishandling, or an unexpected disaster.
ADVERTISEMENT
Some simple TLC will help your family photographs last longer. Here are some tips for finding the right storage supplies and preserving your photos (from daguerreotypes to modern prints) so you can pass them on to the next generation.
1. Weed Out Photos
Your family likely took a lot of photos. (Remember double and triple prints?) As processing costs became less expensive, our relatives took more snapshots and slides.
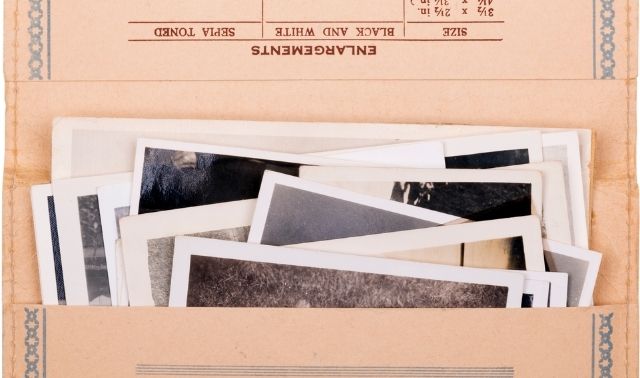
All those prints can lead to a bloated collection. Avoid overwhelm by weeding out unnecessary photos, which will also save you time and money.
ADVERTISEMENT
Here are a few suggestions:
Think about the future
What will these images mean to future generations? Photography was rarer in the 19th and early 20th centuries, so we don’t have as many photos of our ancestors as we do today. Prioritize those older photos.
Keep only the specifics
Focus on photos of specific people and places. If you find a photo of an unidentified beach or landmark, feel free to toss it.
Choose the best version
If you have multiple versions of the same scene, pick the best one: the one with the most people looking at the camera, the least blurry, and so on.
Throw out duplicates
All you need is one original and a high-resolution scan. You can offer extra copies to interested family members.
Repurpose
Gift photos to friends and family. Maybe you took candid photos at a wedding you attended—ask the couple if they’re interested in what you took, even if it’s not a good fit for your collection. After all, they may only have professional shots.
Fix harmful storage
Written by Sunny Jane Morton
As you work, remove pictures from environments unsafe for archiving: acidic paper, many types of plastics, or decaying or “magnetic” albums, for example. Re-frame any pictures currently housed in frames that haven’t been matted with archival materials and UV-protected acrylic or glass. Carefully use microspatulas, if necessary.
2. Label People and Places
The best thing you can do for your images is put names on them. These will increase others’ interest in saving them, as well as provide clues to when, where and of whom they were taken.
Collect all your unidentified photos in one pile. Compare the faces in them to those that you know in other photos, and look for similarities. It can help to keep photos sorted by which family line you think they depict or the relative you inherited them from.
When filing and scanning your images, create a pile/folder of unidentified pictures arranged by surname, then compare faces to ones you know. Digital photo organizers that have facial-recognition can help.
Next, collaborate with relatives and DNA matches to fill gaps in your knowledge. Some photo-organizers like FOREVER have facial-recognition tools that can help.
Label your photos carefully, as some writing utensils can prove destructive. Write on paper-based images with a soft lead (8B) pencil or one made of graphite. (Some organizers suggest a STABILO pencil.) Never use a permanent marker or ballpoint pen on your pictures, and label the back of photos when possible. If your picture has a resin coating (introduced in 1968), then use a photo-safe pen like a Zig Signature pen or a STABILO pencil.
3. Scan Your Prints
Part of taking care of your physical photos is making sure you have digital copies as well. This is especially true for older photos or images that I’ve become damaged for one reason or another, which should be a higher priority to digitize.
Preservationists recommend scanning photos at 1,200 dpi in the TIFF file format. This will give you maximum flexibility and archival-level resolution. You can find other advice for scanning photos here.
Just as important is setting up a backup system. You might think digital photos will live forever, but they are susceptible to data corruption or files becoming outdated or unreadable. Print copies of the most-important photographs in your collection, or compile them into a printed photo album. You might be surprised that physical objects can last longer than their digital counterparts.
You’ll want multiple copies in multiple places and formats—for example, files on an external hard drive as well as a cloud-based system. There are several reliable services that can do this for you, depending on your budget and operating system. FOREVER is one option, providing both storage and a legacy system that allows your family to access your account once you’re gone.
4. Work with a Digital Organizer
Now that you have digital versions of your photos, try to work with them whenever possible, rather than with your prints. You’ll be able to view, share and possible even record a story with photos without taking on the risk of handling the physical object. (And without having to shuffle through boxes of pictures.)
Metadata is especially important, allowing you to embed captions, dates and names with your files. Save Metadata has recommended standards for these details, and identified a handful of software programs and websites that adhere to them:
Some of these programs allow you to work with photos on the go, making them great companions for research trips or family reunions.
Part of taking care of your physical photos is making sure you have digital copies as well.
5. Gather Supplies
The right materials can protect your images, but poor-quality plastic, wood and cardboard can deteriorate your pictures. And plastic tubs—though good for disaster prep—should not be used for long-term storage.
“The containers you use for your photos can cause more of a problem than they solve,” Sally Jacobs, the Practical Archivist, told Sunny Jane Morton for an article in a 2013 issue of Family Tree Magazine. “Acidic paper [like from cardboard boxes] will leach acids into whatever is in direct contact with it. Keep acidic paper away from your photos whenever possible. Sticky magnetic albums are in even more dire straits because the overlay is often made of an unstable material called polyvinyl chloride, or PVC.”
Find archival-safe supplies—those appropriate for a museum or archive. You can identify them with certain key phrases, including non-PVC (plastic) polyester, acid-free and lignin-free.
Buy items from trusted companies that have proven track records for preservation, such as:
- Archival Products
- Bags Unlimited
- Carr McLean
- Clear File
- Conservation By Design
- Gaylord Archival
- Hollinger Metal Edge
- University Products
The Conservation Center for Art & Historic Artifacts has a helpful article.
At this point, spend some time thinking about how you’d like to file your photos. You could have separate folders for each person (listed by name), and file group portraits separately by family. Or you might sort more-recent photos chronologically. Consider mirroring your physical filing system to that used by your digital organizer.
Certain kinds of photos require special consideration when storing. Here are some factors to consider:
Cased images
Labeling cased images can be tricky: You can’t write on the surface or affix anything to the case or image without damage. A handy solution is an acid- and lignin-free microfilm box. This not only preserves and protects the image, but also allows you to write identifying information on the outside of the box. Or slip of strip of acid- and lignin-free paper in the box.
Slides
Do you still have slides in the carousel trays ready to be projected? These helpfully allow for circulation, but you’ll still want to digitize the slides for posterity.
You’ll likely need special materials to do so. Archival suppliers sell polyester slide pages, and see if your desktop scanner has any dedicated attachments for slides. Alternatively, ScanMyPhotos offers a slide-scanning service that doesn’t require you to remove slides from their carousels.
Negatives
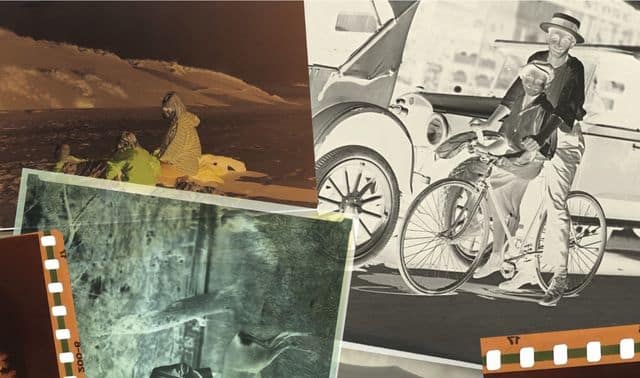
Professional organizers will tell you it’s okay to toss film negatives. But we family historians disagree! Negatives can serve as high-resolution replacements for missing or damaged images. Those awful 1970s linen-pattern prints aren’t crisp and clear today. But a scan of one of their negatives will give the image new life.
Because negatives come in a variety of sizes and formats, caring for them (including scanning them) can be a real challenge. Glass negatives, in particular, are fragile and heavy. Scan negatives at 5K resolution to get a crisp and clean image. Then store them with prints in their own protective pages, preferably in polyester sleeves of a similar size. Fortunately, Gaylord Archival sells acid- and lignin-free boxes that are lined with Volara foam for cushioning.
6. Pick the Right Storage Space
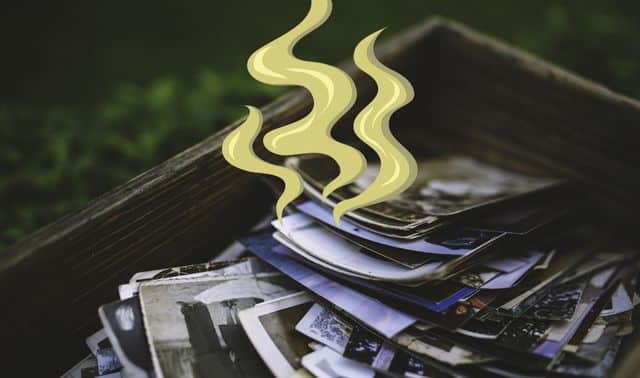
Though many of us feel safe in our homes, your living space likely has several potential hazards from a preservation perspective. Water pipes and fireplaces can prove disastrous if they malfunction, and even simple sunlight from the window can fade items over time.
Basements, attics and garages all offer ample storage space, but their fluctuating temperature and humidity make them poor candidates. (For reference: Museum storage is typically 50% humidity, which can be difficult to replicate at home.) Storing photos in a windowless closet or even under your bed would be preferable.
The ideal temperature for many photographic materials is 70 degrees Fahrenheit. Control humidity using either a de-humidifier or a humidifier. (For the former, desiccant containers can help by holding water vapor.)
Also watch out for pests, which can be drawn to photographs and albums as food and nesting materials. Store them off the ground and in sealed containers. Be alert for termites in wood frames or silverfish (drawn to adhesive on paper). Proper storage conditions will stop the problem before it starts.
Alternatively, you may want to display photos in your home—hung on a wall, or sitting on a mantel. These illustrate family pride, but also expose photographs to light. Over time, your photos will fade or discolor. Instead, store the original photos and display copies instead. Or order specialized photo displays from sites like Mixtiles, Mpix, Shutterfly or Snapfish.
7. Prepare for Disaster
Museums and libraries have plans for various disasters, establishing a workflow in times of crisis. Consider implementing them for your own house using these steps:
- Identify shutoffs for the water and gas lines in your house, plus your fuse box.
- Record the phone number for your local fire department.
- Find a local conservator, and keep their contact information on file. The American Institute for Conservation has a database. Many preservation companies also have emergency contact numbers for when disaster strikes.
- Prepare an emergency kit, containing distilled water, disposable gloves, N-95 masks, blotting paper and unprinted newsprint from an art-supply store (for packing). Keep the kit in a waterproof container.
- Have waterproof containers on hand for quick storage in case of flooding.
Photo-Preservation Q&A
Should I wear gloves when handling photos?
For years, advice leaned towards wearing cotton gloves for handling your precious images. But that has changed—gloves are no longer the best-practice.
Why the switcheroo? Cotton gloves transfer dirt to images and make handling images clumsy. They also provide a false sense of security, leading to more careless mistakes with photos.
It’s safe to touch even old photos without gloves, provided your hands are clean and dry. Hold them by the edge only, and use copies (rather than originals) for sharing and displaying. Avoid eating, drinking or smoking around photos.
Can I take photos out of albums?
Photos often have writing on their backs, making it tempting to remove them from albums to investigate. But try to resist, as albums tell a story of who put them together. They provide clues to who’s who in unidentified photos.
Removing photos from albums also presents a significant damage risk, especially for black-paper or Victorian albums. Instead, photograph/scan album pages in their entirety. Then re-create the order in a new album of acid- and lignin-free paper and polyester overlays. Suppliers include Gaylord, Kolo and Rag and Bone Bindery. You could even add a handsome slipcover.
Exceptions include “magnetic albums,” which are made of toxic adhesive and poor-quality plastic and paper and should be carefully disassembled. Use unwaxed dental floss to gently remove images from sticky pages. If they’re old enough, images may just slide out.
How can I repair damaged photos?
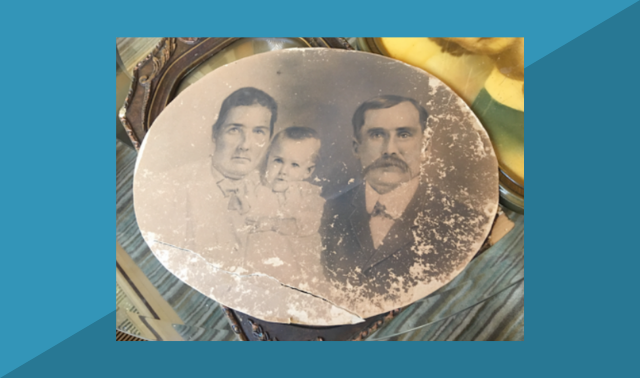
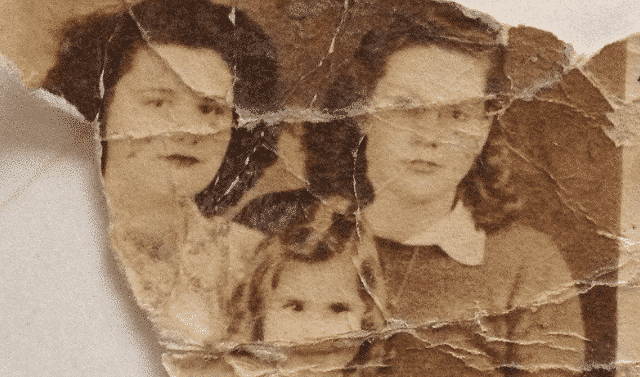
Despite your best efforts, your photos can still be afflicted by rips, tears, water damage, color shift and even mold. You’ve likely come across such items in collections passed down through the generations.
The most-immediate step for damaged or disintegrating photos is digitizing them. This provides a stable version of the image. And numerous editing programs (such as Vivid-Pix RESTORE and MyHeritage) can help you enhance them. You’ll want to leave more-technical repairs to professionals.
Related Reads
A version of this article appeared in the January/February 2025 issue of Family Tree Magazine. Similar articles ran in the January 2000 (by Lynn Ewbank) and January/February 2013 issues (by Sunny Jane Morton).
ADVERTISEMENT

