Family archives can arrive without warning. One day you’re creating a research plan, perusing online databases, analyzing information, and recording results and conclusions. Then suddenly, you’re the keeper of the family “stuff.” A relative passes away or downsizes, and boxes of photos, documents and memorabilia arrive on your doorstep.
As a genealogist, you know those old photos, loose papers and fragile letters likely hold a wealth of information about your family. And somewhere in those boxes could be the key to an elusive ancestor you’ve been seeking for years.
With a good plan and the right supplies, you can conquer the chaos to create an organized and accessible family archive. Fine-tune your archival skills with this guide to confidently working with your family collection and preserving your inheritance for the next generation of genealogists.
1. Identify Your Collection
Your first task with any family collection is understanding the breadth and scope of its materials. You may already know who created it, what kind of items it includes, and approximately how old they are. If you don’t, take time to answer these questions, as well as to understand how large the collection is.
Describe Your Collection
Write a brief description of the collection, including what you know about its creator and provenance. Specify how and when the materials came to you, where they were previously located, what the archive generally contains, and how large it is (e.g., how many boxes).
Think of this as a short history written for someone unfamiliar with you and your family. For example, from my archive:
The Arline Kinsel and Frank Brown Papers include 12 boxes of photos, letters, documents and memorabilia collected by Arline Kinsel Brown (1890–1967) and Frank Ammi Brown (1893–1963) while they lived in Colorado, Kansas, Missouri, New Mexico, Utah and California. Materials include the Kinsel Family Bible, Brown Family Photo Album, and extensive genealogy correspondence between Arline and her sister Mercy Kinsel MacPhee. The collection was stored in a trunk by Arline’s daughter Frances Brown at her home in Santa Ana, California, since 1965. Arline’s daughters Frances and Suzanne reviewed the contents in 2000 and passed the collection to Suzanne’s daughter, Denise May Levenick of Pasadena, California.
Try to dig deeper than the obvious. If you inherited a collection from your grandmother, do you know where she got the materials? Some items may have obviously been inherited from her mother, extending their dates and chains of ownership.
Give It a Name
Professional archives give their collections a descriptive name—follow their lead. A collection focused on a single person might include their first and last names, or you could use a surname for a collection that covers a whole family. For example:
- “The Arline Allen Kinsel Papers” for photos, documents and letters collected by Arline from her family and friends
- “The Arline Kinsel and Frank Brown Family Collection” for items from the Kinsel and Brown family lines.
- “The Frank Brown Photographs” for photos and related documents that Frank curated during his lifetime.
Tip: Use a woman’s maiden name along with her married name.
2. Inventory Your Collection
Now that you’ve got a general idea of what the collection contains, begin a more-detailed inventory. Your goal is to get the “big picture” of the collection’s overall contents. Is it old letters? Keepsakes and ephemera? Genealogy work? Examine one box at a time.
Because old boxes and papers can be dirty, use a clean sheet to cover a sturdy table that’s away from direct sunlight. Wash your hands, and wear cotton or nitrile gloves when handling photos or film. Also grab some paper and a pen, a digital camera or your smartphone, and a trash bag.
Follow these easy five steps as you work through boxes:
- Number each container
- Remove the top layer of items and gently place them on the table, then delve into the next layer. Keep going until the box is unpacked.
- Take a picture of the contents with your phone or camera.
- List each box’s inventory on a piece of paper or spreadsheet.
- Repack the box from bottom to top, maintaining their original order as best you can.
Likewise, keeping materials in their original order will help you better identify the relevant people and locations. Do not mix items between boxes.
3. Decide Your Role
Now that the collection is in your possession, what do you want to do with it? You could continue organizing and preserving the materials, or further any research that was left unfinished. Other options include excerpting materials for a project or simply moving everything into storage. You might even pass on the entire collection to someone else.
The right role depends on your situation. Here are three general archetypes to consider:
- Curator: Study, organize and contextualize a family and its material collections for posterity.
- Creator: Make something new out of the old photos, letters and ephemera in your possession: scrapbooks, a novel, short stories, movies, even Powerpoint presentations.
- Caretaker: Safely store and preserve the materials, regardless of whether you have the time and interest to work on any research itself.
However you see yourself interacting with the collection, think carefully about your ultimate goal. It’s easy to get sidetracked or pulled in different directions. Are you preparing the collection for possible donation to a library, or applying for a lineage society? Or are you working to publish life stories about your ancestors?
4. Plan Your Archive and Order Supplies
You likely won’t keep all the items you’ve inherited. (See the section below for a framework of what to keep versus toss.) But those you do keep will need to be stored safely.
Give some thought to how and where your family archive will live. Ideal storage locations are generally in a clean, dark, cool room where temperature and humidity are constant, away from windows, heating and cooling vents, fireplaces and electric wiring.
Avoid places prone to pests or at risk for water damage, or locales like attics, basements and garages where temperature fluctuations can cause irreversible damage.
A seldom-used, interior closet is usually a good choice. Store items on a sturdy shelf (wire, metal or polyurethane-treated wood) to keep them off the ground, in case of flooding. You may need to store papers and photos in one place (say, a filing cabinet) and keepsakes or awkwardly shaped items in another.
Identify Safe Materials
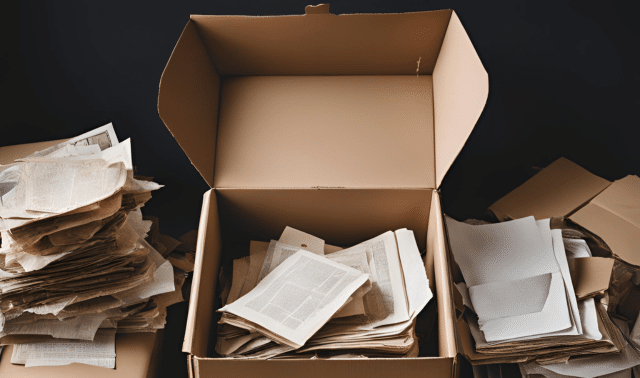
It’s unlikely the collections you inherited were neatly labeled and organized, let alone stored in archival-safe materials. Instead, they probably came to you after being moved haphazardly from drawers, cabinets and closets into whatever was handy at the time—old cardboard boxes, plastic storage totes or even laundry baskets.
Before you do anything else, focus on long-term preservation storage. You’ll be tempted to jump ahead digitizing and micro-level organizing the collection. But your priority should be safeguarding the materials so they’ll be preserved in the likely event you’re interrupted.
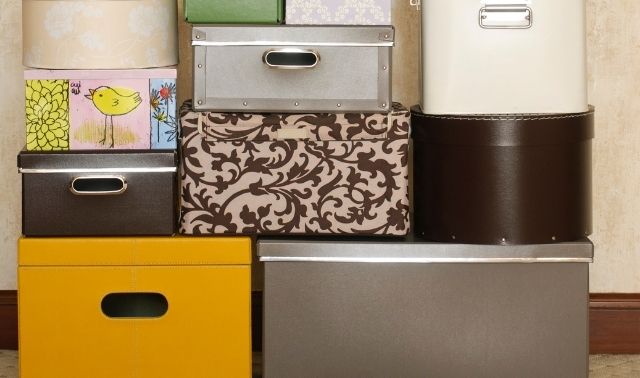
Start by determining how many archival containers you’ll need. At a minimum, rehouse items in a large acid-free “banker’s box,” which is relatively inexpensive and sturdy enough to hold various papers, photos and keepsakes. Order as many as the collection originally used, plus a few extra. Adjust appropriately if the banker’s boxes you’re ordering are larger or smaller than the original containers.
Acid-free, low-lignin products are either manufactured without acidic materials or are treated to remove acids. Old-fashioned 100% rag paper is a good example of high-quality acid-free paper.
The Photographic Activity Test (P.A.T.) is used to determine how photographs react inside a plastic enclosure. Poor plastic enclosures create an environment where colors change and photo paper deteriorates in a kind of “toxic envelope.” Look for plastic products such as mylar and polyester that have passed the P.A.T. and are safe for preservation storage.
Tailor organizing items to the materials in your collection. A collection of 250 handwritten letters will require lots of acid-free folders and/or document boxes. And oversize vintage photographs may need unusually sized boxes.
Here are some special things to consider for different types of materials:
- Correspondence and documents: Unfold and place in acid-free folders, then inside an archival vertical document case or file cabinet. Save letters and envelopes together in the same folder.
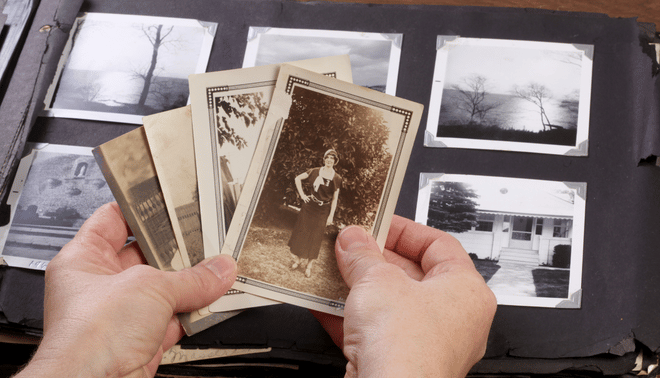
- Loose photographs: Organize in archival boxes or photo albums. Store binders with P.A.T.-approved plastic pages inside a slipcase or box enclosure to protect prints from light and dust. Shoebox-style boxes are good for storing photos vertically. Large flat boxes are a good choice for oversize photographs. Note that photos housed in poor plastic will fade and color-shift.
- Negatives and film: Use storage envelopes and poly sheets available in all film sizes. Store in archival boxes or slip-cased binders.
- Scrapbooks and small books: Place in individual pamphlet envelopes or file folders and store together in clamshell box. “Magnetic” photo albums are especially toxic; take great care in trying to remove photos from them.
- Newspapers: Open pages and store flat, away from other items. (Newsprint, which is highly acidic, can contaminate other materials over time.) Large shallow acid-free newspaper boxes are a good choice.
- Memorabilia: Dolls, toys, jewelry and so on are best stored in an acid-free box slightly larger than the item. Fill it with acid-free tissue or polyester fiberfill to cushion fragile items within the box.
- Quilts, clothing and other textiles: Roll and place in a clean cotton pillowcase. Store inside acid-free boxes.
For years, I’ve written a column called Family History Home. Each entry discusses how to preserve a specific type of heirloom. Find a collection of them here.
If you can, buy standard sizes to make containers easier to sort and stack. Study the websites of archival suppliers to make a shopping list:
Save Money on Archiving
You can build a safe home archive without breaking the bank.
Start by thinking green and natural, and examining what you already have. Many household items such as sheets, pillowcases and old tablecloths are made of cotton, linen or polyester-cotton blends, perfect for storing antique quilts, clothing, shoes and other treasures. Unbleached cotton muslin is also a good choice. (Make sure use only freshly laundered fabric to avoid dust and pests.)
Next, think “old school.” Filing cabinets, ammo boxes or metal boxes with powder-coated or baked enamel finishes are great storage containers. Add acid-free hanging file folders to a file cabinet for a compact and accessible document archive.
You also don’t need unique containers for each item; archival containers are often interchangeable. A shoebox-size “photo box” can also be used to store a pair of baby shoes wrapped in acid-free tissue.
5. Create a Detailed Inventory, Then Organize
This is where it all comes together. When the supplies arrive, roll up your sleeves and get to work!
Earlier, you surveyed the boxes to name and describe the archive. Now it’s time for a deep dive into the contents. As you go, curate the collection and move items into archival storage containers.
Set aside a block of time and space in your home that can go undisturbed for several days. Folding tables in an unused guest room or dining room can be your command center. As before, cover a sturdy table with a clean sheet or tablecloth to catch dirt, dust and bugs, and set it up away from direct sunlight. Cover open boxes with a second sheet between work sessions.
Like when you did your initial inventory, unpack boxes in layers. Remove any staples, pins, fasteners and rubber bands that you find. And discard food and any obvious trash.
Maintaining original order might still make sense, but now is the time arrange contents into new groups, if necessary. You’d want to pull out all wartime letters to store them together, for example, in a separate labeled document case. Pull out any business papers, and keep them separate from genealogical notes.
Tip: Keep the story, not the stuff. Some items you inherit aren’t safe for long-term storage, so you’re better off taking a picture or scan and jotting down some memories instead.
Keep a list of important documents, or create a dedicated Current Research box or bin.
As you sort, use a spreadsheet or word-processing table to make an inventory that includes:
- Date
- Archive name
- Box number
- Location
- Name of item and quantity
- Description of item
- Notes (item condition, further research tasks, etc.)
Print the inventory and include copies in both the box and your files. Label each box with a general description of the contents: name, box number and a brief summary of contents.
Keep an eye out for items on these lists. The “What To Keep” include valuable genealogical information, and “What To Let Go” includes items you may well choose to dispose of.
What To Keep
- Vital records (birth, marriage, death)
- Employment records (pay stubs, job contracts, résumés)
- Educational records (school photos, rosters, report cards, citizenship certificates, school yearbooks)
- Church records (bulletins, donation receipts, photos)
- Directories and address books
- Military records (service records, correspondence, photos)
- Family history research (narratives, charts, family trees)
What To Let Go
- Food and other perishables
- Dried flowers and plants, including corsages
- Copies of material easily available elsewhere (e.g., printouts of censuses from a genealogy website)
- Old books and papers that don’t have individual significance
- Blank journals and notebooks
- New, unused items
- Greeting cards that have only a name
See our other articles on deciding what heirlooms and family papers to keep, versus what you can trash.
Congratulations! Your “stuff” is now more than a collection of old boxes and paper. Properly organized and inventoried, your inherited research will be accessible for you and generations to come.
Related Reads
A version of this article appeared in the September/October 2024 issue of Family Tree Magazine.

