Sign up for the Family Tree Newsletter! Plus, you’ll receive our 10 Essential Genealogy Research Forms PDF as a special thank you.
Get Your Free Genealogy Forms
"*" indicates required fields
Do you have an online tree? Ancestry.com is a useful tool for researching and sharing your family history, making it a great place to take the leap. Or maybe you’ve been using Ancestry.com’s trees for years, but your tree is looking more and more like a bush.
Taking time to master Ancestry.com can help you grow your tree into something that will interest even the non-genealogists in your family. Here are some of the site’s most-important family tree features, and how you can best use them.
The Basics of Ancestry.com Trees
You build and maintain your own family tree on Ancestry.com, in contrast to the “one-tree” models of websites like FamilySearch. Privacy settings allow you to decide who can see your tree: any Ancestry.com user, only selected users, or no one but you. You can attach records, photos and other media to your tree. You can even attach DNA results if you’ve tested with AncestryDNA.
Anyone can create a tree on Ancestry.com; you just need a free account. A paid subscription allows you to view Ancestry.com’s massive collection of records and attach them to your tree, but those features aren’t necessary to get started.
There’s not a limit to how many trees you can make. You could maintain separate trees for your maternal and paternal lines, for example. Or, have a tree specifically for attracting DNA matches. You might even create a “practice” tree as you learn how to use the site.
Starting Your Tree
From the main menu, click Trees > Create & Manage Trees, then make sure you have the My Trees tab selected. This will show you the trees you’ve already created, and give you options for creating a new one. (From Trees > Create & Manage Trees, you can also see any trees that other users have shared with you.)
You can build your family tree in a few different ways:
- Enter the data yourself: Click “Create a new tree,” then type the name of a “home person” and start manually adding preceding generations and other relatives.
- Upload a GEDCOM file: Click this option, then follow the site’s prompts to import information from a previously made family tree. GEDCOM is a file format specifically designed for family trees, allowing different programs to “talk” to one another and exchange genealogical information. See this article for more details.
- Sync with trees on Family Tree Maker or RootsMagic: These two desktop programs are compatible with Ancestry.com. You can follow the instructions on those software programs’ respective websites: Family Tree Maker and RootsMagic.
If you’re entering data yourself, Ancestry.com will ask you to confirm if the “home person” is you. The site uses that information to calculate your relationship to different people in the tree. The home person can be you or a spouse, child, other relative or someone you’ve offered to help.
You’ll also be prompted to name your tree. “[Surname] Family Tree” might be the obvious choice, but a more-descriptive name might help you connect with other researchers.
Consider your tree’s purpose. For example, are you tracking a specific maternal or paternal line? If so, maybe you want to add a few surnames, a location or a date range.
As you work in your tree, you can fill in as much or as little about a person as you want. Ancestry.com will initially ask for the person’s full name, gender, whether they are deceased or living, birth date and place, and death date and place (if deceased). The Deceased/Living distinction is significant because living people will be not be visible to other users unless you specifically invite them to the tree, even if your tree is otherwise public.
Once you’ve entered basic information about your home person, you can add relatives: a spouse from underneath their name, or parents by clicking the appropriate boxes. Click into your home person’s profile for more options.
As you add more and more people, you’ll notice Ancestry.com displaying green leaves next to someone’s name. You might even see pre-populated green names in earlier generations. These are hints, and we’ll get back to them later.
Tour: The Profile Page
The profile page is where you can view, add and edit details and attachments about people in your family tree. Access the profile by clicking a person’s name from the main tree view, or by clicking the name of a relative from another profile.
The profile displays a few facts at the top: name and birth/death date and place. Beneath birth and death dates, you’ll see an icon with a plus sign and a pen. Click this to add MyTreeTags—short phrases you can add to profile to make it easier for you and others to find. You might add a tag for direct line or military ancestor.
Underneath this basic information are four tabs: LifeStory, Facts, Gallery and Hints.
LifeStory
This tool presents the facts of your ancestor’s life in a more-narrative format, incorporating maps, images and other historical events. This view can be especially helpful if you want to show a non-genealogist what you know about a common ancestor.
You can edit LifeStory using the icons at right: Show to toggle just Family Events or Historical Insights, and Add to drop in additional events.
Facts
The default view is the Facts tab, which contains any details you’ve added about your relative (dates, events) as well as attached sources and family members. This is where you’ll arguably doing your most work: adding sources, life events, and relationships.

- The summary at the top of the profile includes basic details such as name, birth and death dates and places, and relationship to the person in the tree designated as “you.”
- Click the pen icon to add MyTreeTags, which can make it easier for you and other users to find specific profiles—even in large family trees.
- Add or edit facts—births, deaths, changes of address, marriages, education and immigration milestones, and so on—either manually or by attaching records. You can toggle whether facts about family members (such as the births of siblings or deaths of siblings and parents) appear.
- The timeline includes both a year and the person’s age at the time of the event.
- Sources include records you’ve attached from Ancestry.com’s collections (including Public Member Trees) as well as any documents or citations you’ve uploaded yourself. Click a source to see what fact(s) and people it’s attached to, then View to see more details (including, if available, a record image).
- View and add family relationships here, or quickly navigate to relatives’ profiles.
- The clock icon links to a feature (in beta as of this writing) that tracks changes you or other users have recently made to this person’s profile.
- From the menu under a person’s basic info or from the wrench/Tools drop-down, you can jump to this person’s tree view, merge this person with a duplicate profile and more.
- Under the pen/Edit icon, click Edit Relationships to access more-nuanced family relationships, such as adopted parents or unmarried partners. (The default Add Family button under Family has options simply for parents, spouses, siblings and children.)
Gallery
Here, find all the media you’ve added for this person: photos, audio recordings and any written stories you’ve uploaded via a word processor or Ancestry.com’s text editor.
From the Gallery tab, “Gallery” collects items you’ve uploaded yourself or saved from someone else’s family tree (or from Ancestry.com sister sites Fold3 and Newspapers.com). And “Sources” are the images associated with documents you’ve attached to the person, such as censuses or vital records.
Add new materials by clicking Add Media, then “Upload [Type]” or “Create Document.” Alternatively, you can add media to an existing fact—from the Facts menu, select the fact, then Edit and Attach Media. In either case, you can find the file on your device or drag the file into the appropriate box to upload.
Click a media item to see additional options. You can print and save items, or (for photos) edit them: colorize, sharpen, crop, rotate and more.
Hints
These collect the suggested records that Ancestry.com has collected for that person. We’ll discuss hints in more detail shortly.
Other Tools
Click the Tools drop-down for additional functions, including:
- View in Tree: See this ancestor as the “home” person in a wider tree view.
- View Notes: Add notes that are visible only to you and those with whom you share your tree.
- View Comments: These are like notes, but visible to anyone. That makes them useful for sharing information you want to share with cousins and other relatives.
- Merge with Duplicate: Use this when you’ve accidentally added the same person twice. Prompts will help you sort any conflicting information.
- Member Connect: This tool highlights other users who have a person similar to this one in their tree. You can connect with them, or ignore the suggestion. Note: This only works for profiles of deceased individuals.
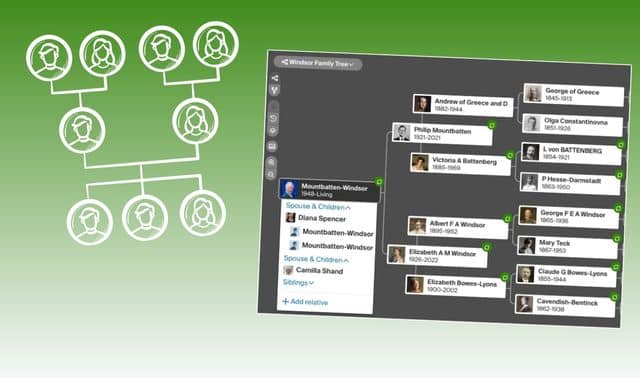
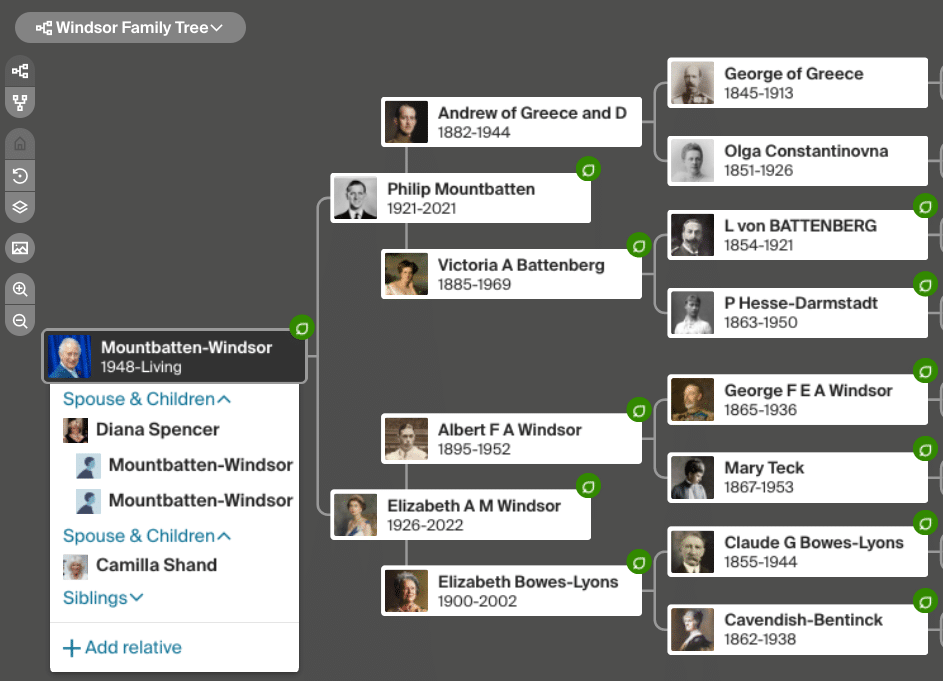
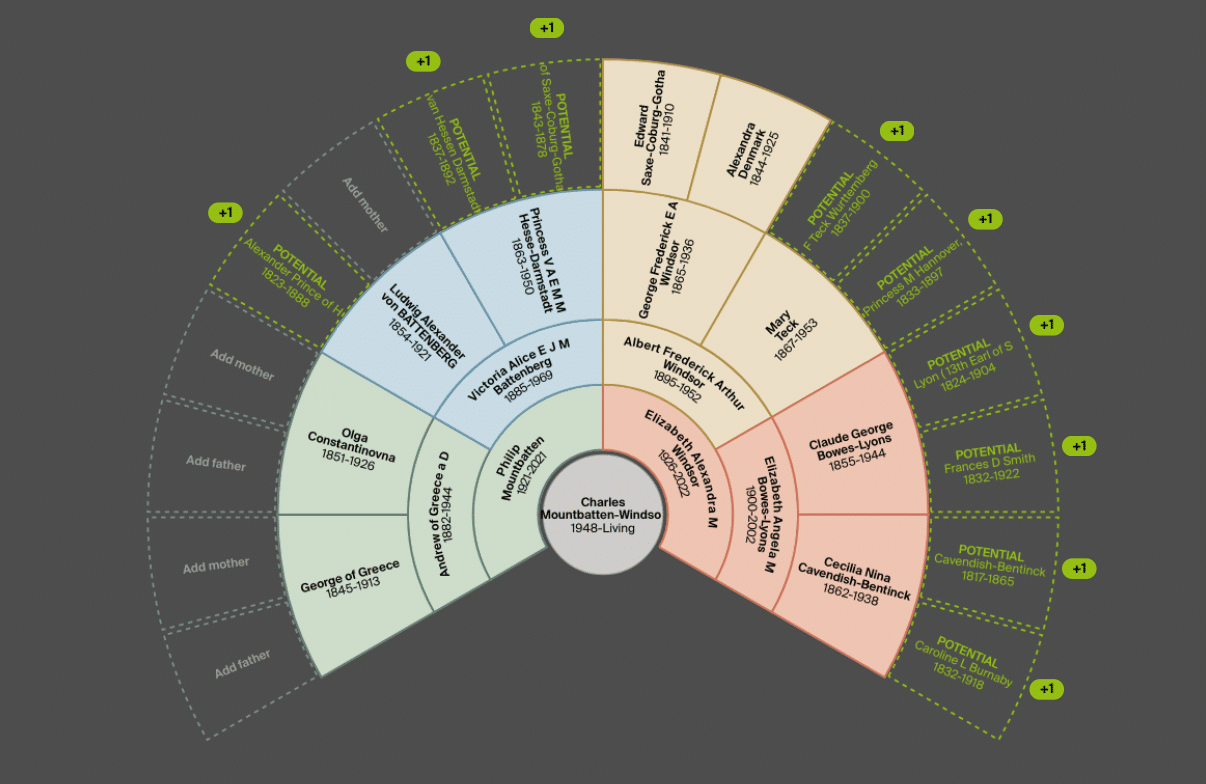
Family Tree Views
Here are four options offered by Ancestry.com, using the British royal family as an example.
Vertical View (Descendant Chart)
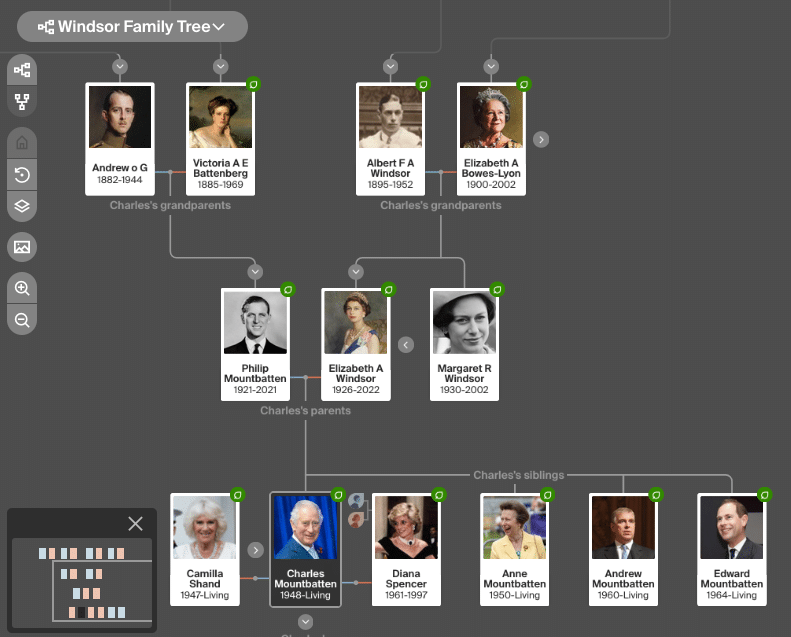
Horizontal View (Ancestor Chart)
Family Group Sheet

Fan Chart
Record Hints
Almost as soon as you add a person to your family tree, Ancestry.com scans its most-popular collections and alerts you to possible matches. These famous “Hints” can be great tools, provided you back them up with your own research.
Note that not all collections are included in hints, but you can expect to find them from:
- Censuses
- Birth, marriage and death records
- Other users’ public family trees
Ancestry.com will consistently serve up new hints—even after you think you’ve explored them all. They might reflect new record collections that Ancestry.com has added, or a change in your tree’s privacy settings. The site might also generate hints based on new information you’ve added.
Using Hints
You’ll find hints for a specific person either to the right of a person’s name in the tree view or as green parent names in further-back generations. (Or, from a person’s profile, click the Hints tab.) You can find hints for all your family member by selecting All Hints from the “[Family Name] Family Tree” drop-down in the main tree view, or by clicking the leaf icon in Ancestry.com’s toolbar.
From a person’s profile, hints are organized into New, Undecided, Ignored and Accepted. In New, click Review to view more details about the suggested match, or Ignore to dismiss hints that are obviously not for your ancestor.
When reviewing hints, make sure you have Compare Details on, as this offers a side-by-side comparison between the data in your tree and the data in the record.
From Review, you’re presented with three options: Yes, No and Maybe. Ancestry.com keeps a record of even hints you choose to ignore—helpful if you later realize the record was a match after all. The options move the hint to a corresponding category in the Hints tab: Yes to Accepted, No to Ignored and Maybe to Undecided.
If you accept a hint, you’ll be prompted to add specific details from the record to your ancestor’s profile. Any information you copy over will be integrated into your family tree. If later you realize that a piece of information is incorrect, you’ll need to delete it manually like you would for any other fact on Ancestry.com: choosing Edit for a fact, then hitting Delete/the trash can icon.


Reviewing Hints
While it’s exciting to have some of your research automated by this process, know that hints can be “too good to be true.” They’re essentially guesses that Ancestry.com’s algorithm makes based on similarities between details about a person you’ve provided and what’s indexed in the records.
Before accepting a hint, carefully analyze it to ensure the record documents your ancestor, not a different person who simply has a similar name. Linking to wrong information can lead you down false paths that are difficult to extricate yourself from later. And hints aren’t substitutes for dedicated research.
Click a hint to see the potential match, then review the details in the record and ask yourself questions like:
- Is the name correct?
- Is the age correct?
- Is the person listed with the right family members?
- Was the record created where your ancestor lived at that time?
If the details don’t match, set the hint aside until you can resolve potential issues. You can always see hints again In the Review Match menu, as Ancestry.com gives you options for Yes, Maybe or No. You can also click Ignore to remove the hint from your list altogether, a good option for hints that are obviously wrong.
You should approach Public Member Tree hints with extra caution. Not everyone does careful research—Ancestry.com members range from those who are interested only in DNA ethnicity estimates to professional genealogists with decades of experience. Some users might build trees only using record hints, or with no sources at all. Look for citations attached to other users’ trees.
Searching Public Trees
As previously mentioned, other users’ public family trees are included in record hints. But you can also search family trees in the same way that you search other record collections on the site.
From Search, click Public Member Trees. The resulting search form allows you to search by name, life event (birth, marriage, death and so on), and relationship. As in other searches on Ancestry.com, you can specify how closely you want results to match your search terms, useful for navigating spelling variations or fuzzy event dates.
Results are the names of possible profile matches, with biographical information about each. You’ll also see the name of the family tree that the profile appears in and how many people, records and sources are attached to it. Profiles that have similar names and vital information may be grouped together; click View All to see more details.
In the About section, Ancestry.com notes that tree profiles may come and go from this collection’s search results as users change their privacy settings. The site also has a disclaimer that information should be taken “as is,” and Ancestry.com doesn’t guarantee the completeness or accuracy of data in trees.
Note this collection includes tree profiles only; photos and documents uploaded by other users are in a separate collection.
Getting Support
For more in-depth Ancestry.com advice, click Help (the question mark icon) from the site’s main toolbar. The first option, Support Center, is a collection of how-to articles, with topics ranging from canceling memberships to downloading DNA.
Ancestry.com has accounts on Facebook and X, where you can contact support. The site’s YouTube channel includes helpful videos, including those from “The Barefoot Genealogist” Crista Cowan.
Organize, Share and Collaborate
An Ancestry.com family tree is a powerful tool for your genealogy. It can help you organize, share and collaborate with others. I’ve outlined some of the tool’s most-important features. But the best way to learn is to start working with it yourself!
Related Reads


A version of this article appeared in the September/October 2023 issue of Family Tree Magazine. Last updated: May 2024